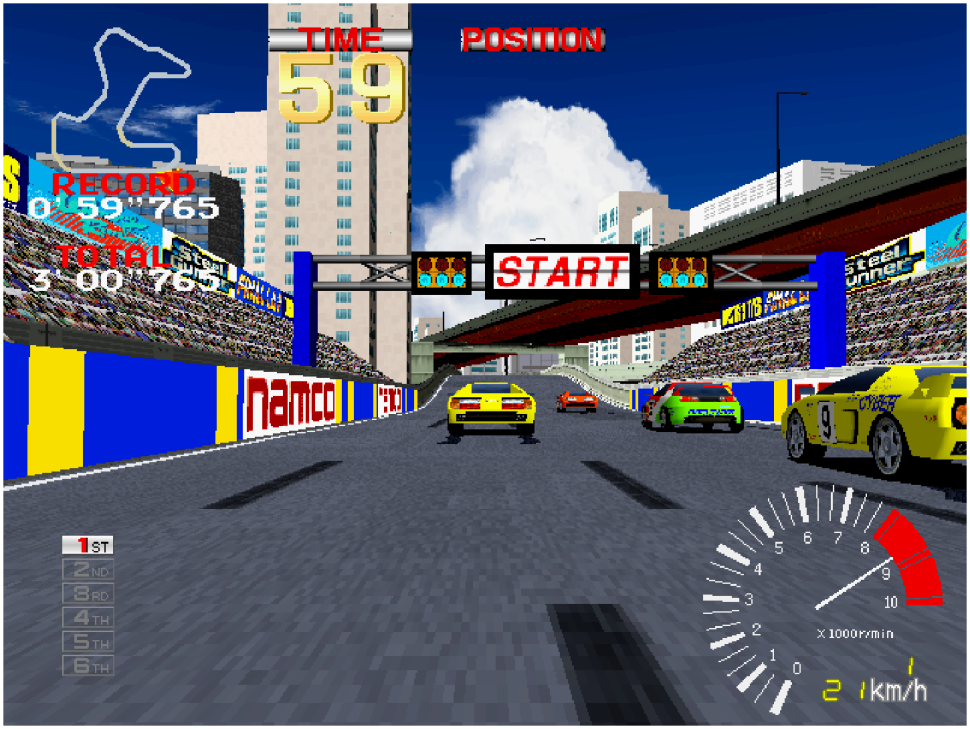
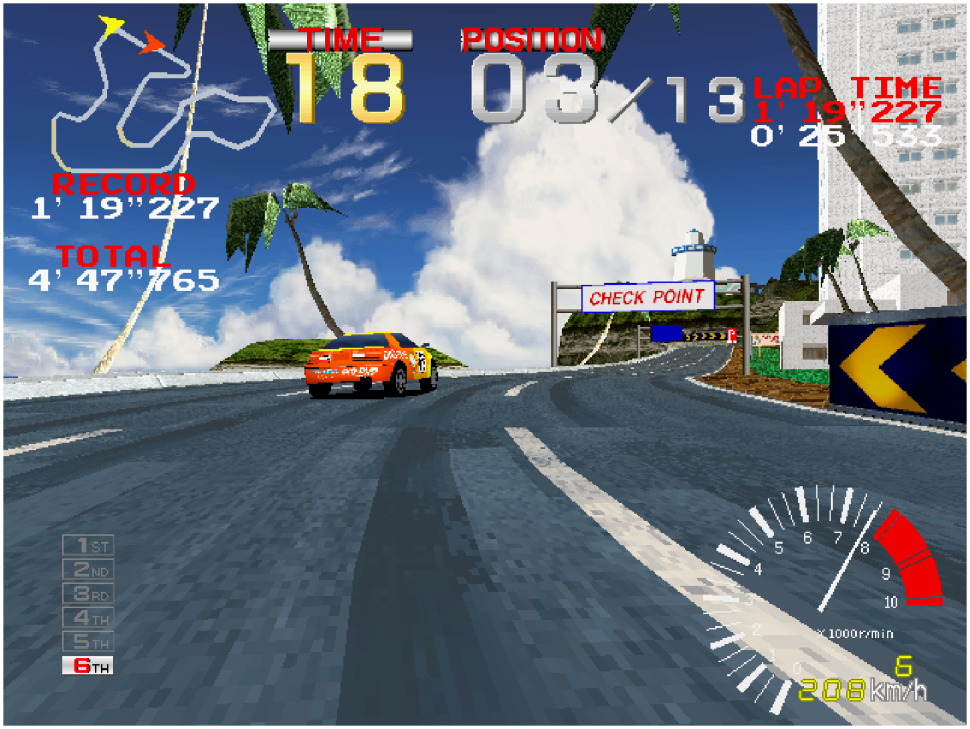
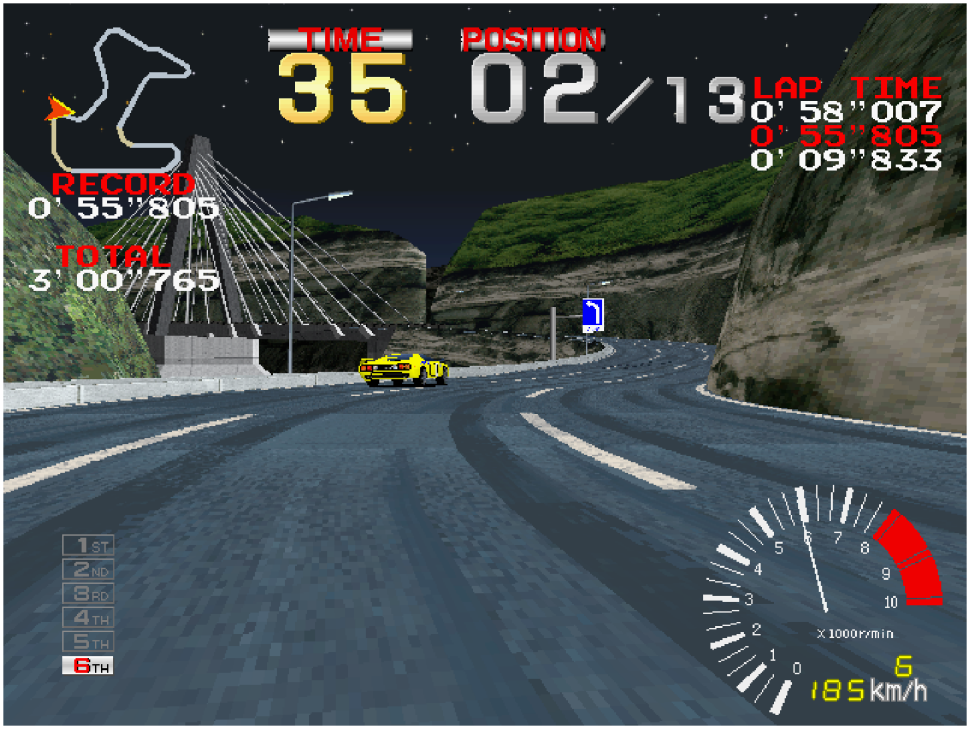
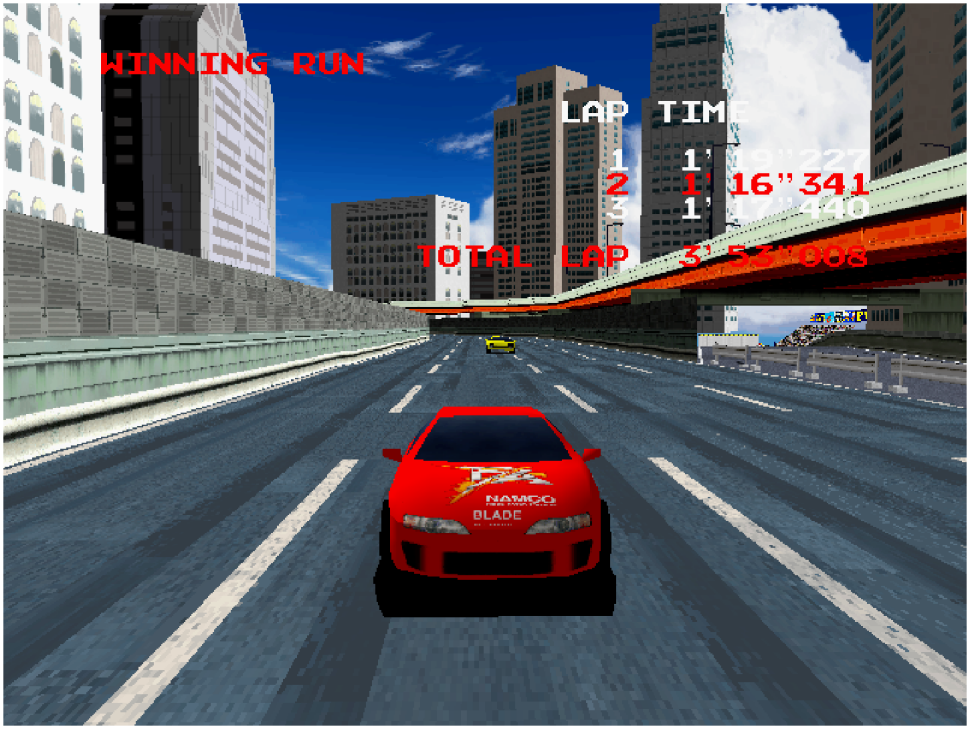
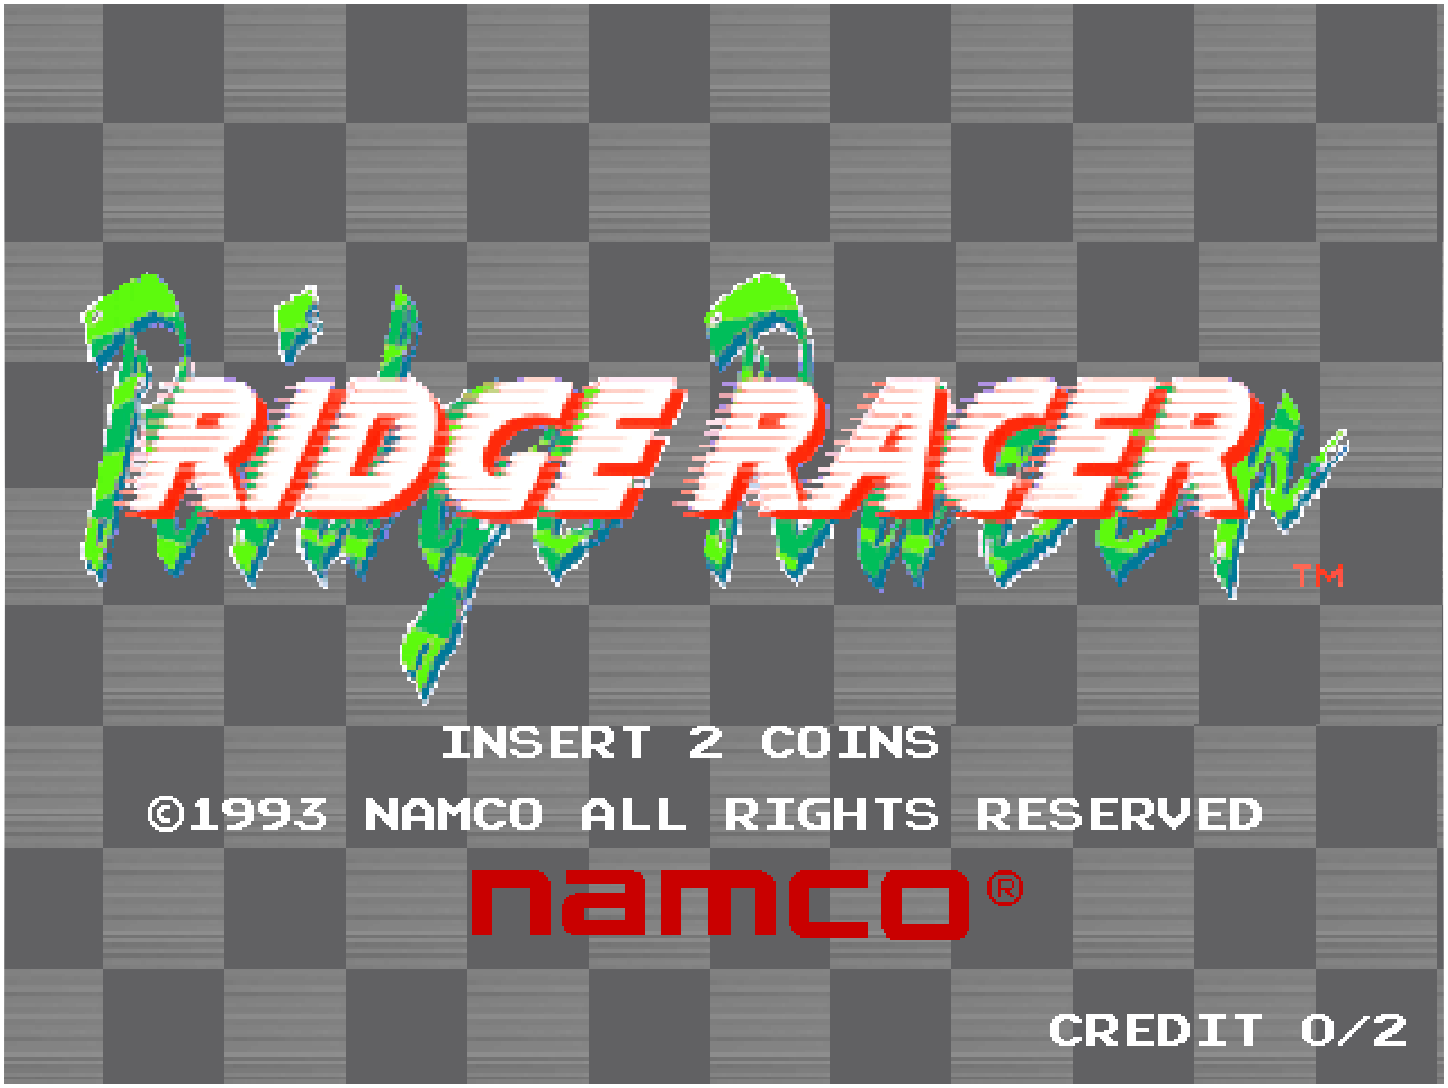
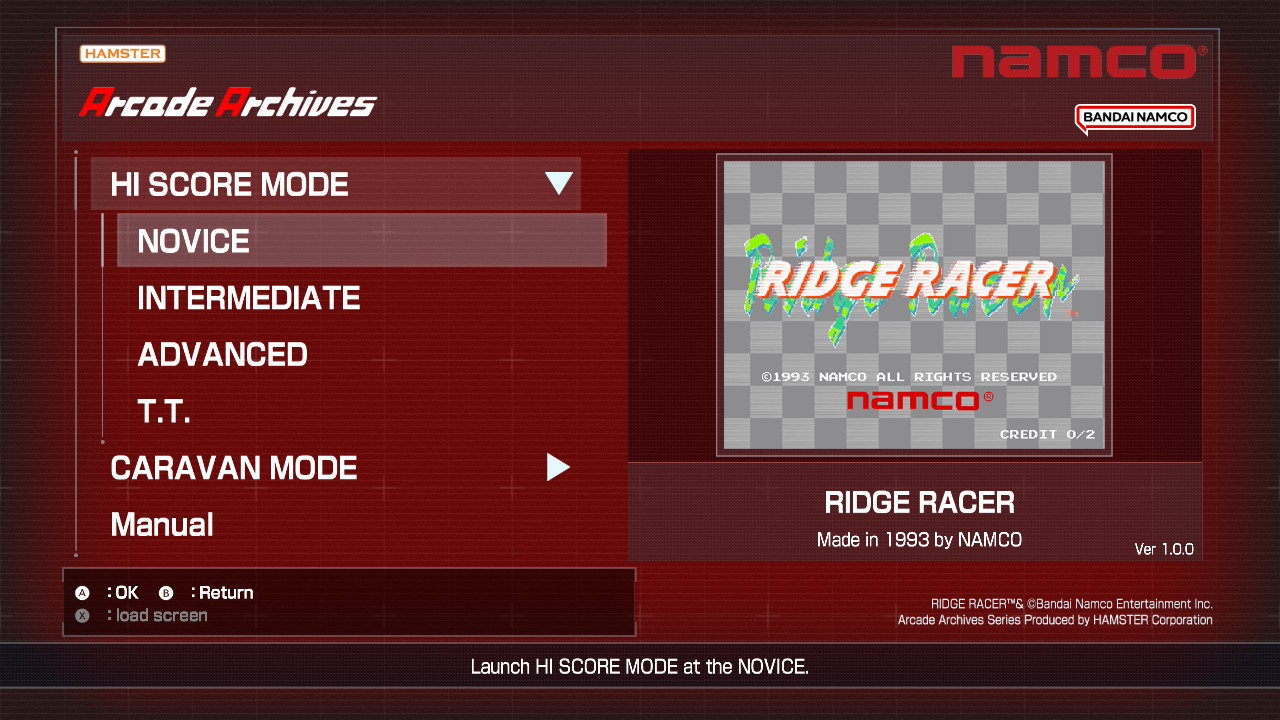
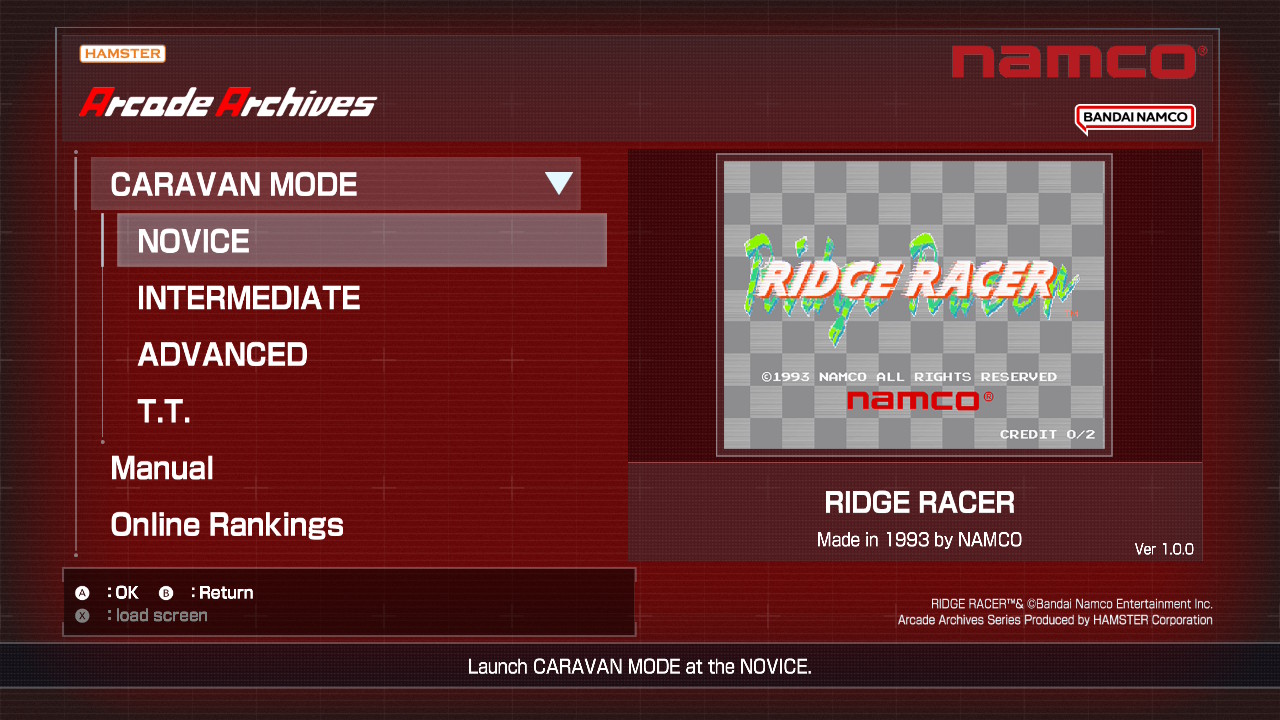
“RIDGE RACER” is a racing game released by NAMCO LIMITED (current Bandai Namco Entertainment Inc.) 1993. Experience the essence of virtual reality with the 3D CG system, “System 22.” This title offers four game modes, including three difficulty levels—NOVICE, INTERMEDIATE, and ADVANCED —as well as T.T.(TIME TRIAL), where you compete one-on-one against a rival car to achieve the best time. Additionally, a DX version featuring support for an H-shifter and clutch is also included.
In this arcade legend, your goal is simple: clear a set number of laps within the time limit and cross the finish line first! Choose from different difficulty levels; each with varying max speeds, lap counts, and track layouts.
Point 1: How to Start Game
The game starts immediately once you insert 2 coins by pressing the [Insert Credit] button. It’s a race after all, no time to waste! If you have 3 or more credits, you can start the game by pressing the [Accelerate] button.
Point 2: How to Select Difficulty
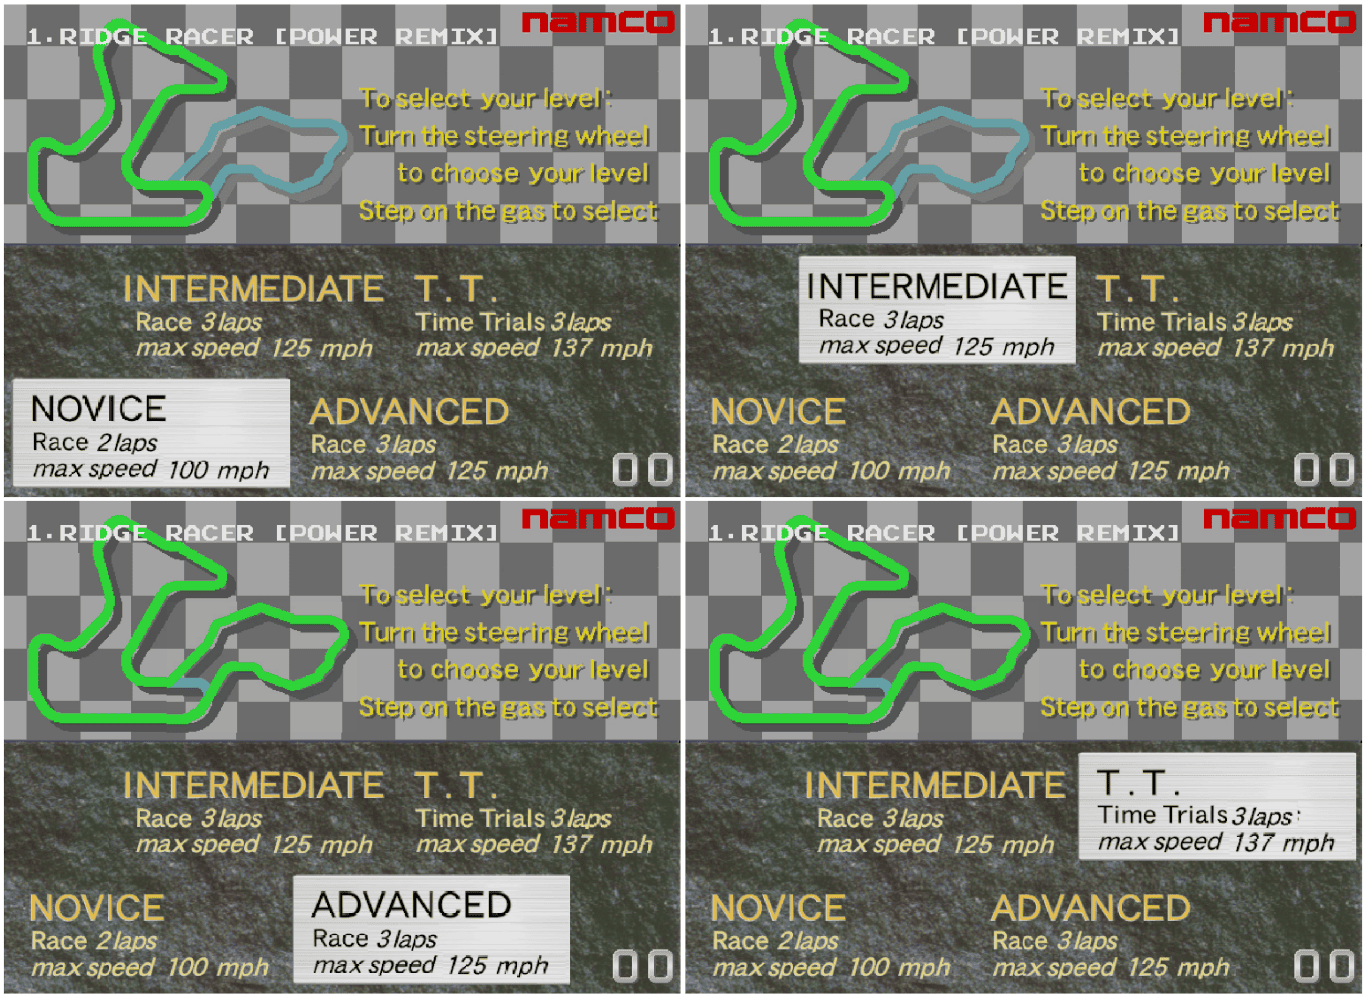
Remember, this is a racing game, just like a real steering wheel, the controls return to center when you let go. If you’re not used to the controls, we recommend using the directional buttons, as the L and R stick is quite sensitive, just like an actual steering wheel. Simply hold the left or right directional button, and when the cursor reaches your desired level, press the [Accelerate] button to confirm your choice.
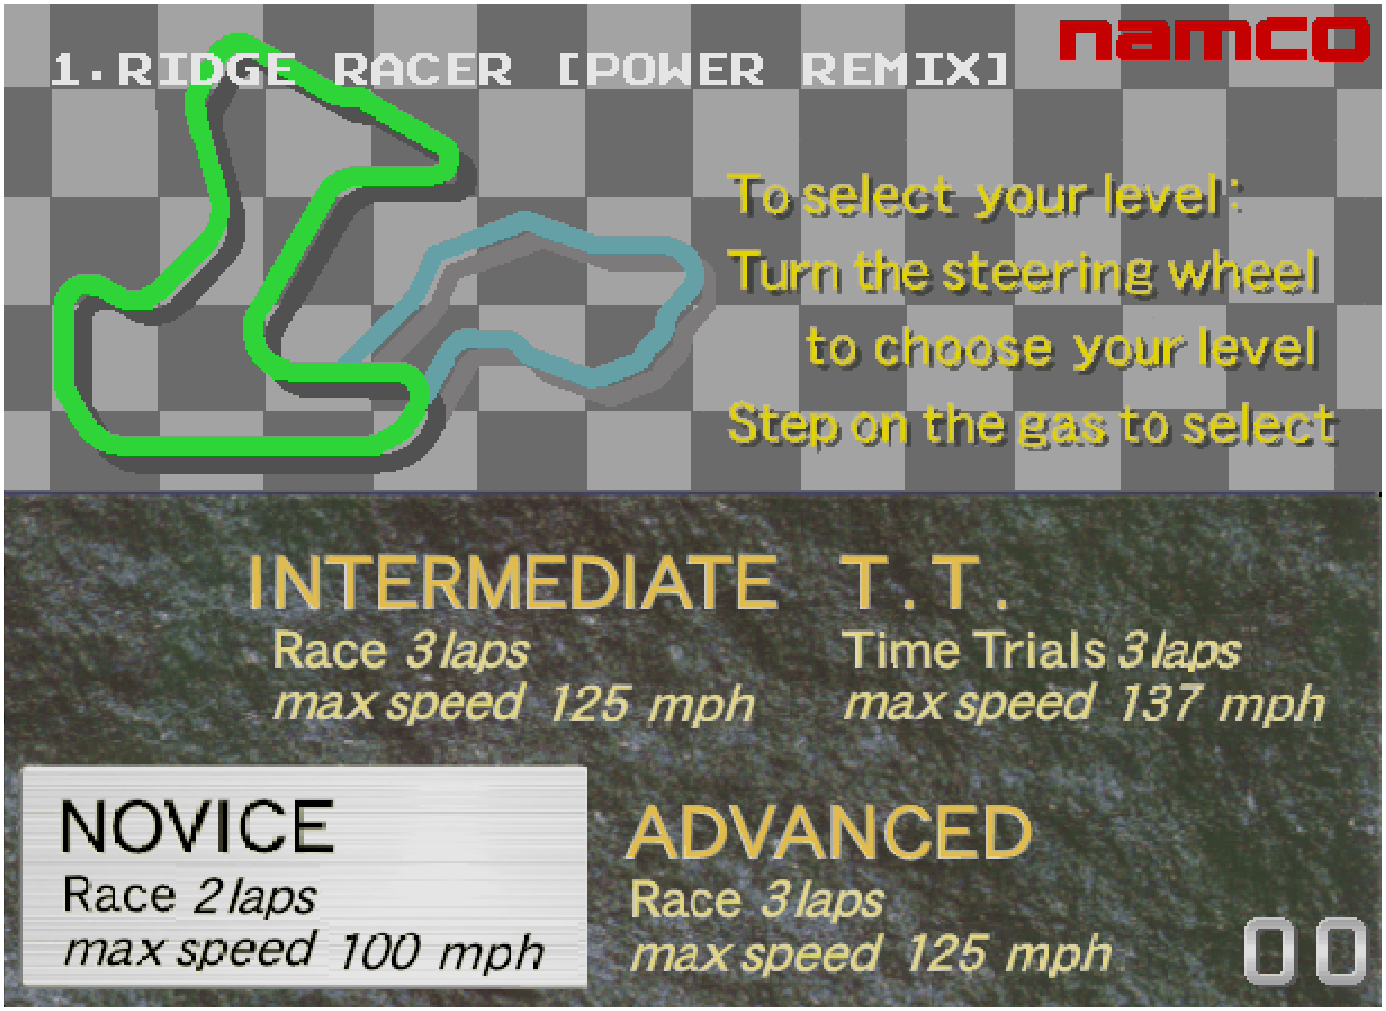
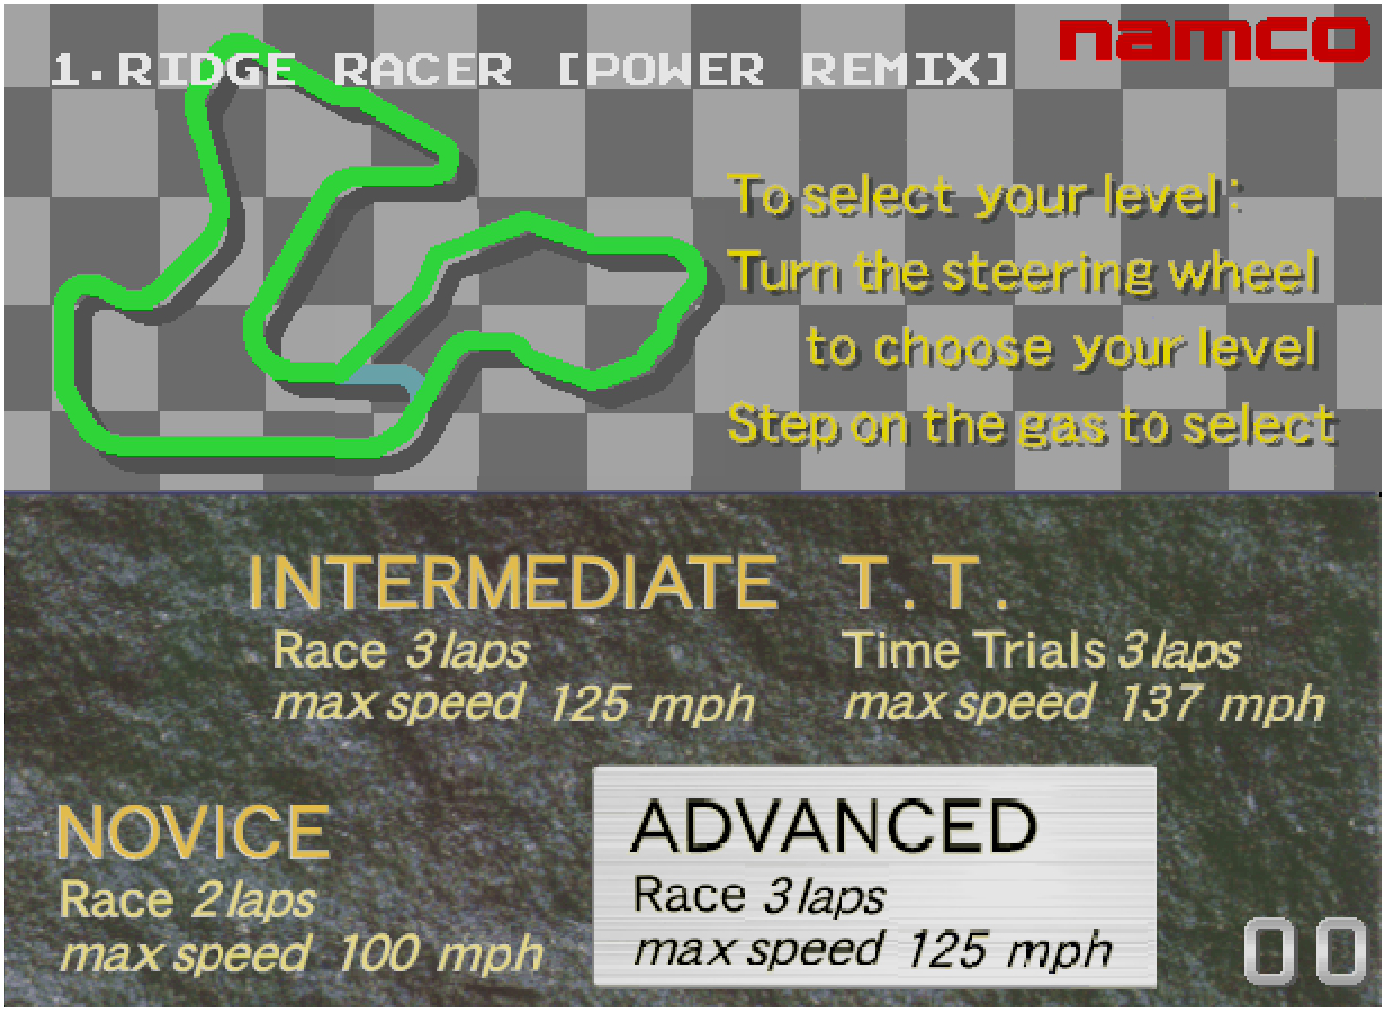
NOVICE
Laps: 2 laps
Max Speed: 100 mph
The easiest choice available to everyone, perfect for getting familiar with the cars and tracks.
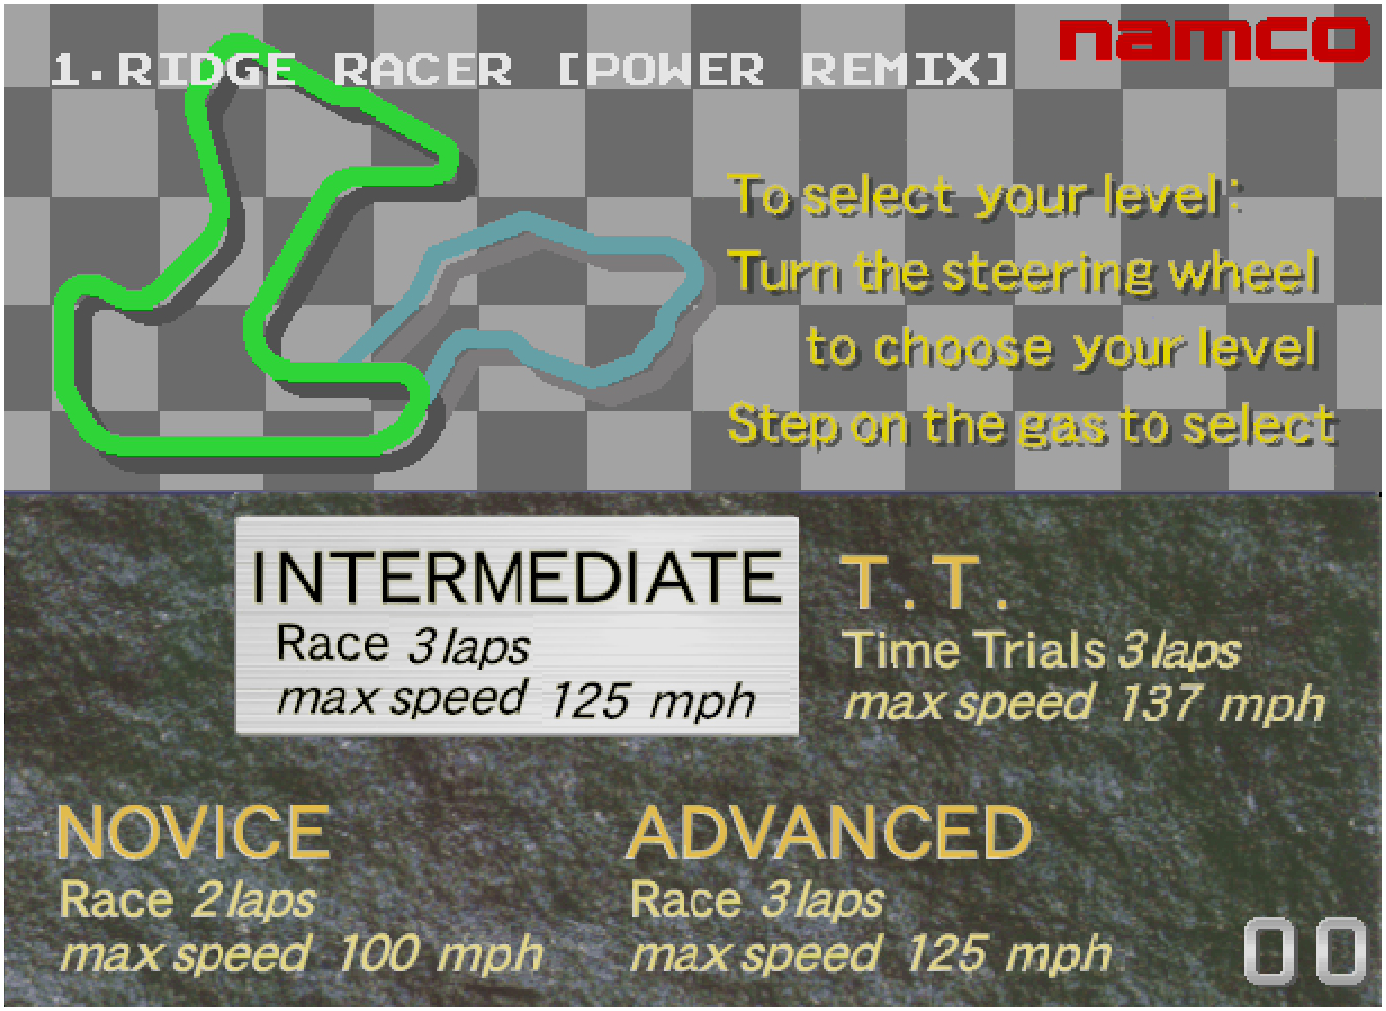
INTERMEDIATE
Laps: 3
Max Speed: 125 mph
A step up from novice. Watch your gas pedal and master those corners!
ADVANCED
Laps: 3
Max Speed: 125 mph
More challenging map layout with sharper curves and tighter corners to test your skills.
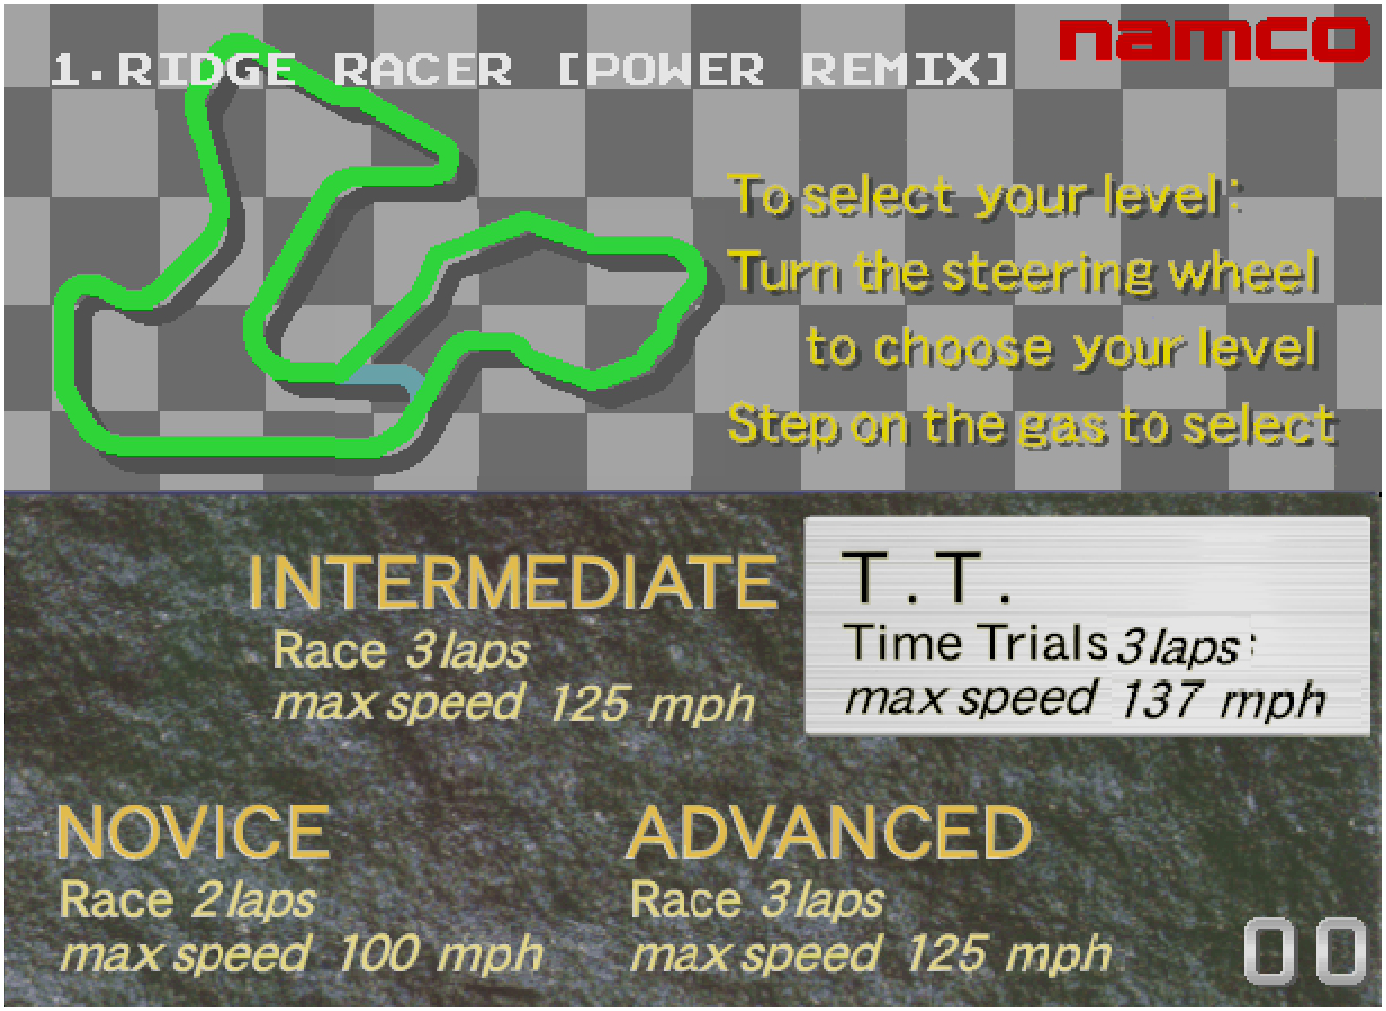
T.T. TIME TRIAL
Laps: 3
Max Speed: 137 mph
Go head-to-head with a rival car on a challenging track, race for the best lap time and prove who’s the fastest! But remember: you can only enter your name if you complete the Time Trial and your total time ranks in the top 5.
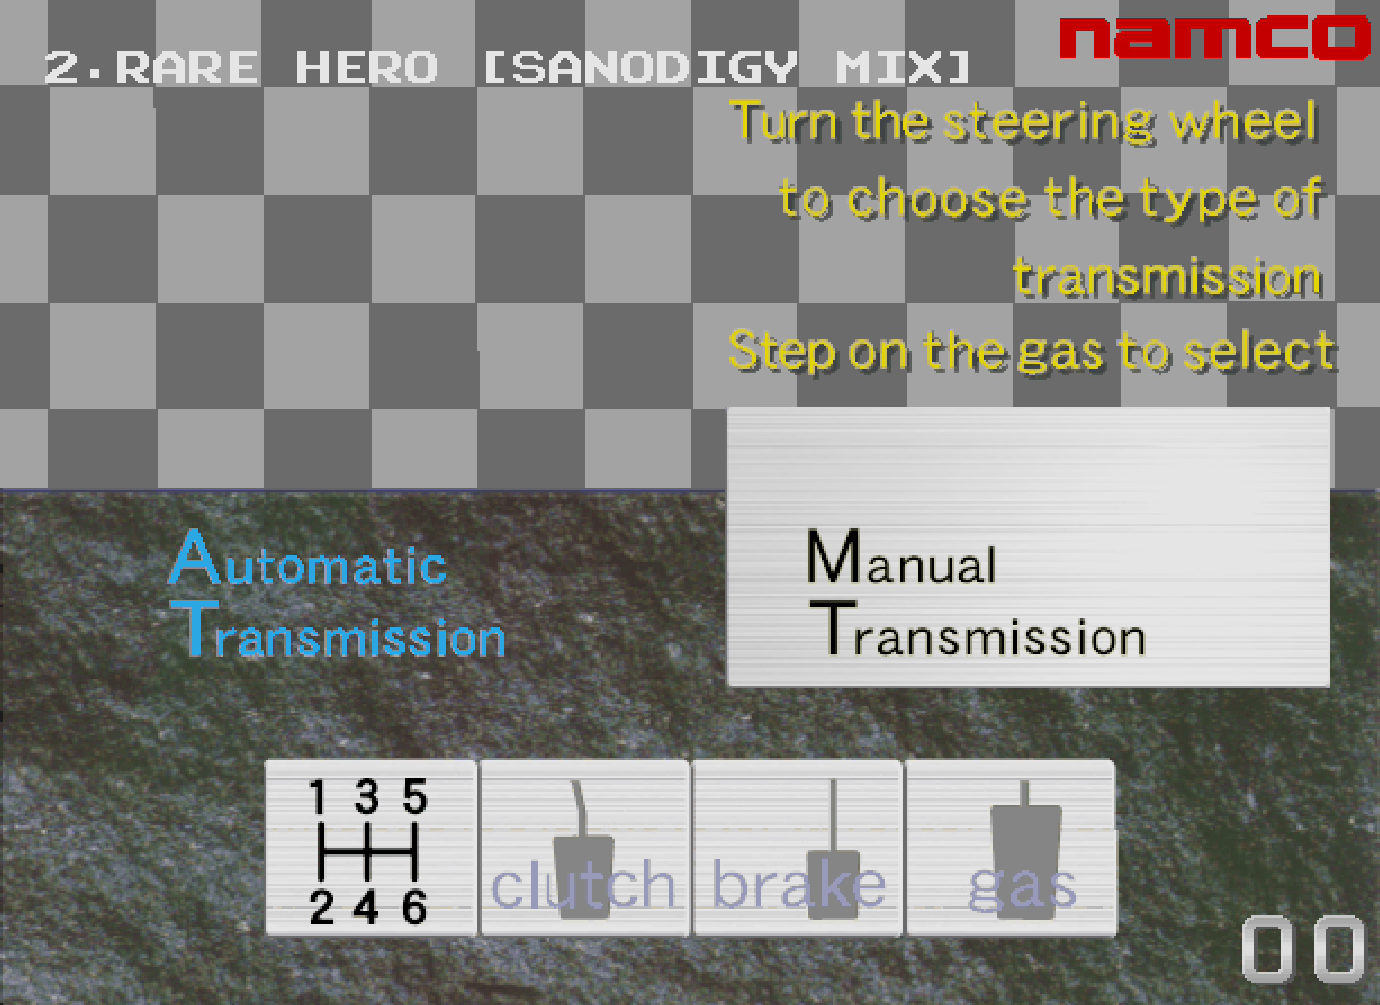
Choose your transmission and hit the road!
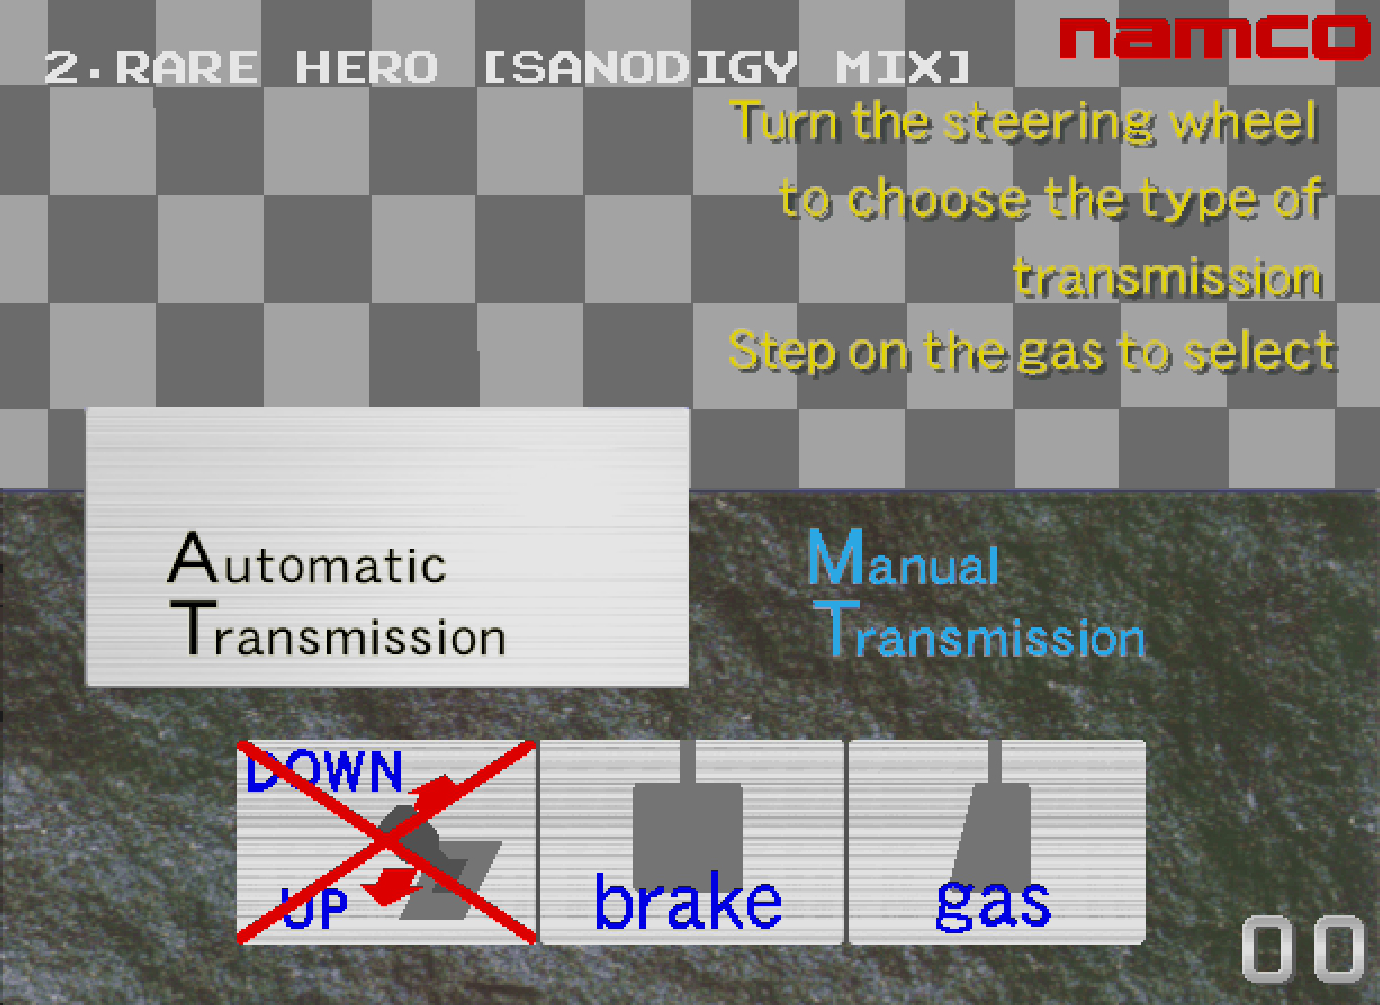
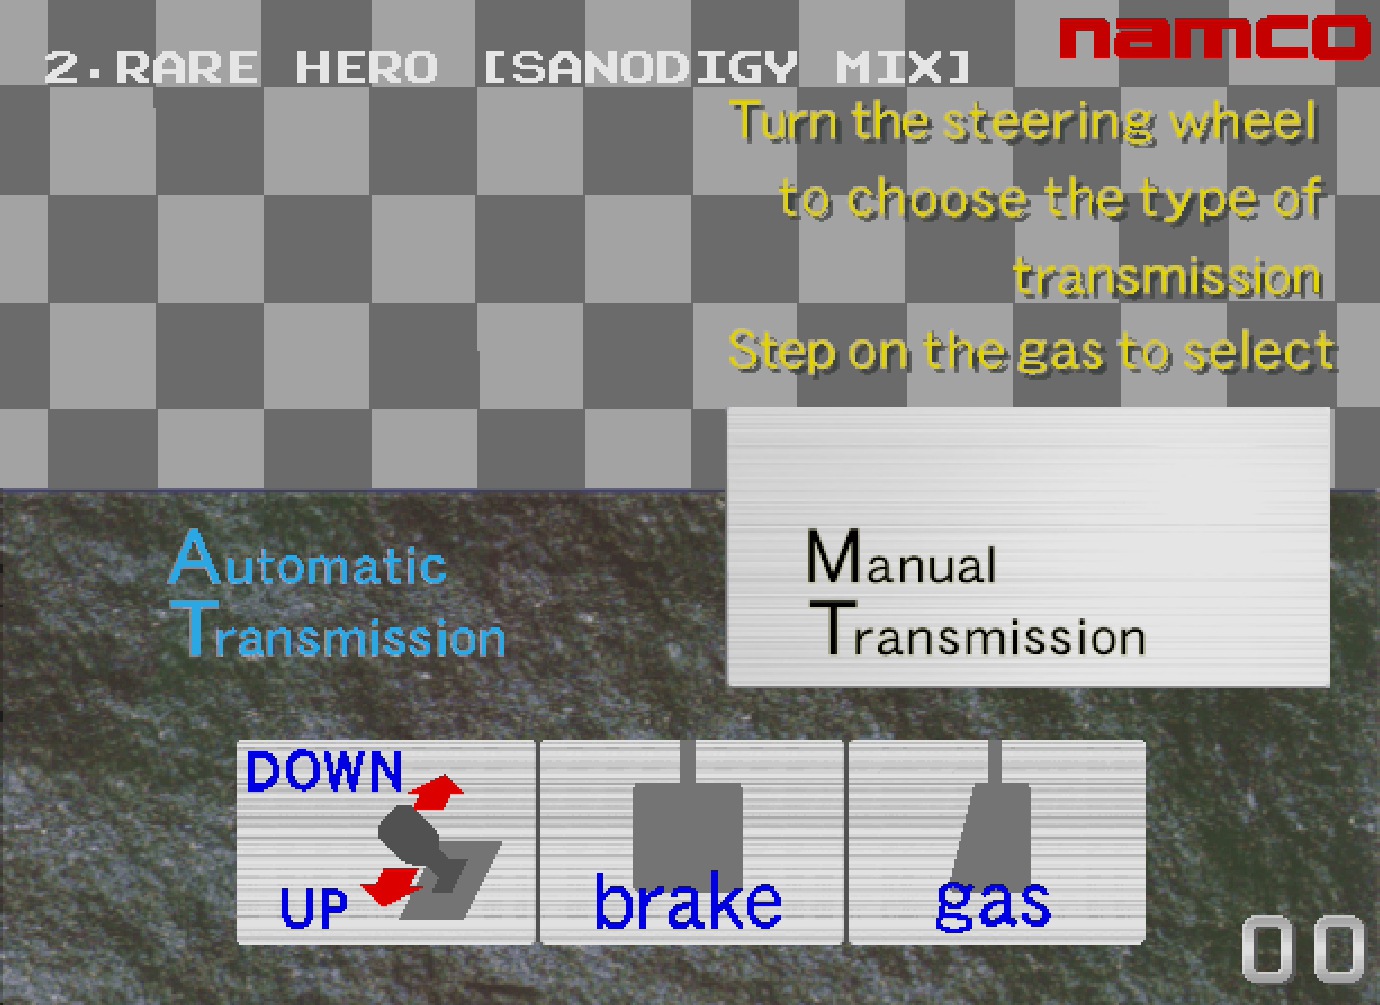
You can choose between AT (Automatic) and MT (Manual) transmissions. There’s no difference in speed between AT and MT, so just pick the one that fits your play style! To move the cursor, use the Left Stick or the Directional buttons (hold to scroll), just like when selecting a level.
Automatic Transmission
The gear shifts automatically as your speed changes. Since you only need to focus on [Accelerate] and [Brake] this setup is highly suitable for any kind of player!
Manual Transmission
You can change gears manually. In addition to [Accelerate] and [Brake] you need to use [Shift to higher gear] and [Shift to lower gear] buttons to shift gears. This mode lets you experience driving like you’re behind the wheel of a real racing car, allowing you to take advantage of engine braking for more advanced throttle control. It’s recommended for players who want to enjoy a deeper, more immersive driving experience.
In the DX version, you can also enjoy driving with an H-shifter and clutch! Use the Right Stick like a gear lever for H-shifting. Operate the clutch pedal with [Clutch DX] and switch to neutral with [Neutral DX]. Please note that in the DX version, [Shift to higher gear] and [Shift to lower gear] will not function even if they are assigned to buttons.
Change the BGM
Did you know you can change the BGM just by pressing the [Shift to higher gear] and [Shift to lower gear] buttons? In the DX version, you can use the Right Stick (1st–6th Gear) to select the BGM.
RIDGE RACER [POWER REMIX]
RARE HERO [SANODIGY MIX]
FEELING OVER [UNDERGROUND]
ROTTERDAM NATION [FOO MIX]
SPEEDSTER [I LIKE A.T MIX]
RHYTHM SHIFT [12″ VERSION]
🏁 The right music sets the mood for a great race, so pick your favorite and hit the road!
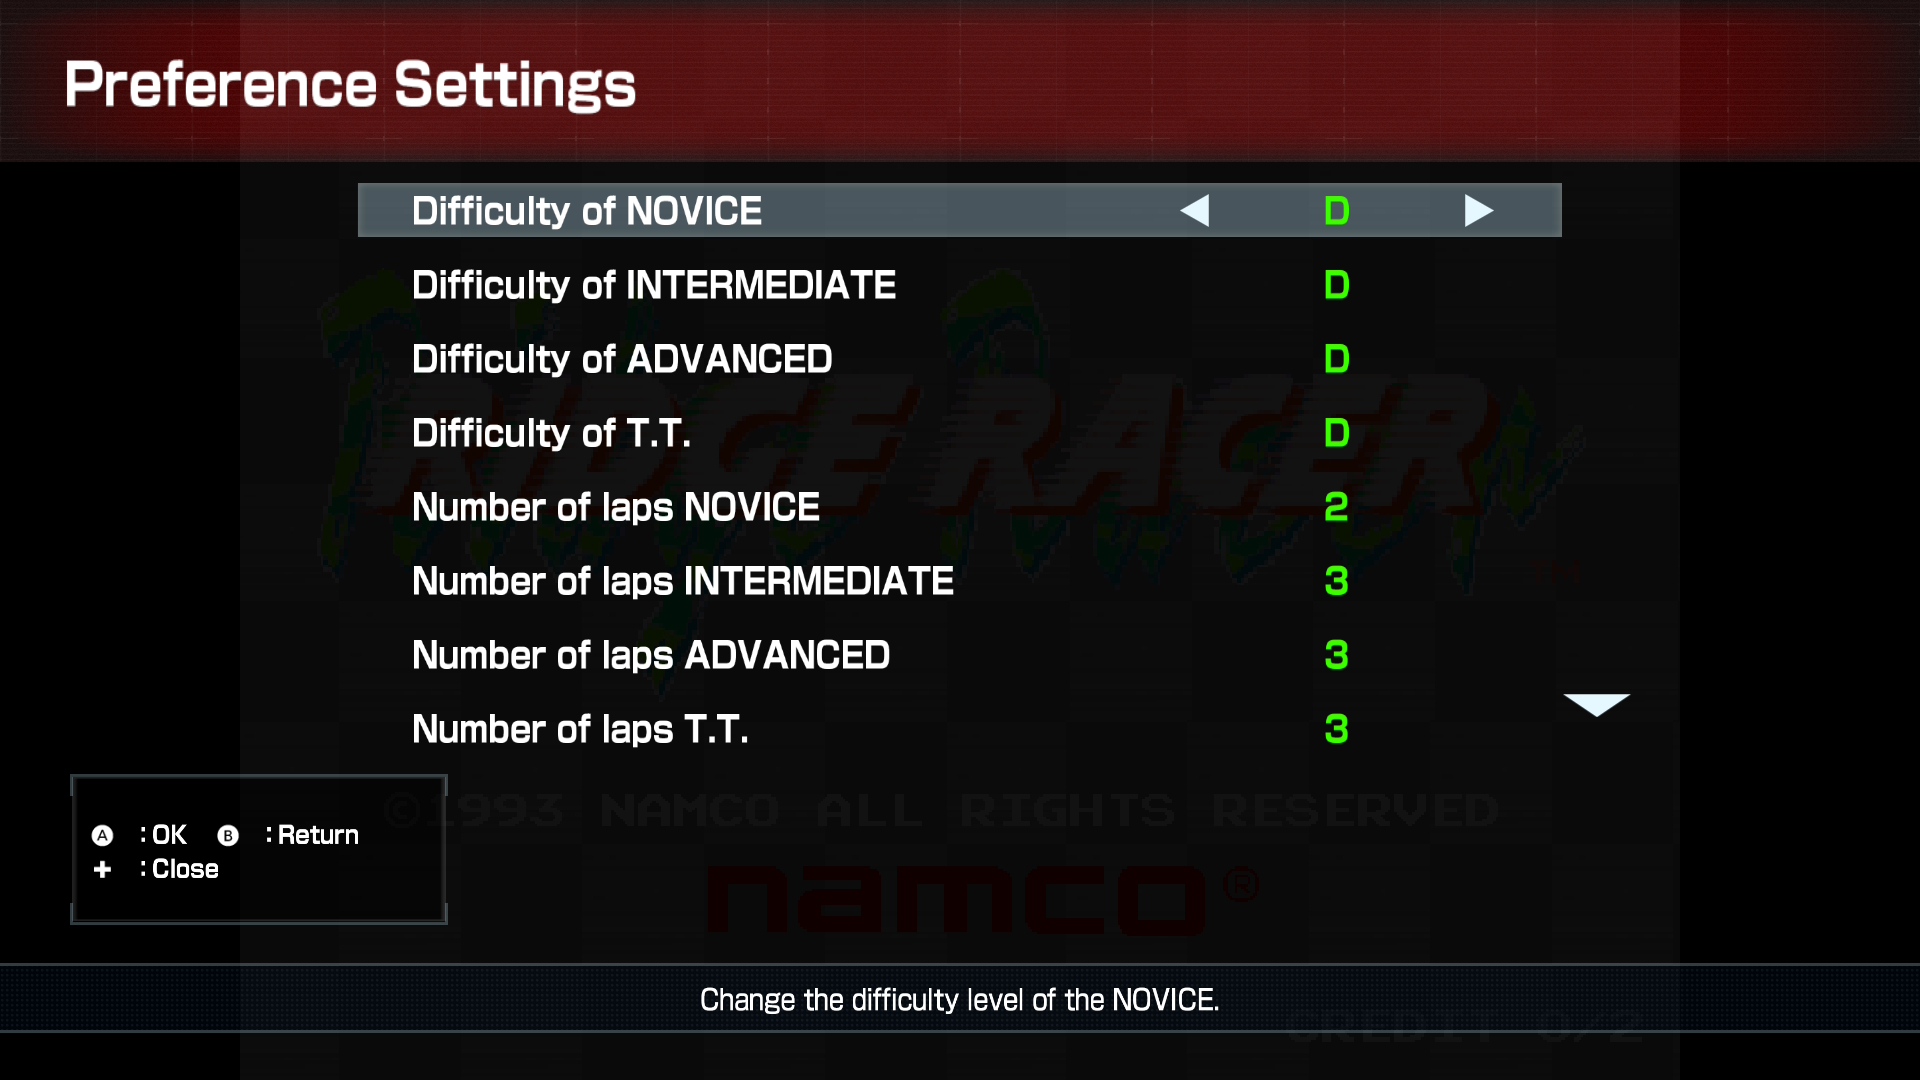
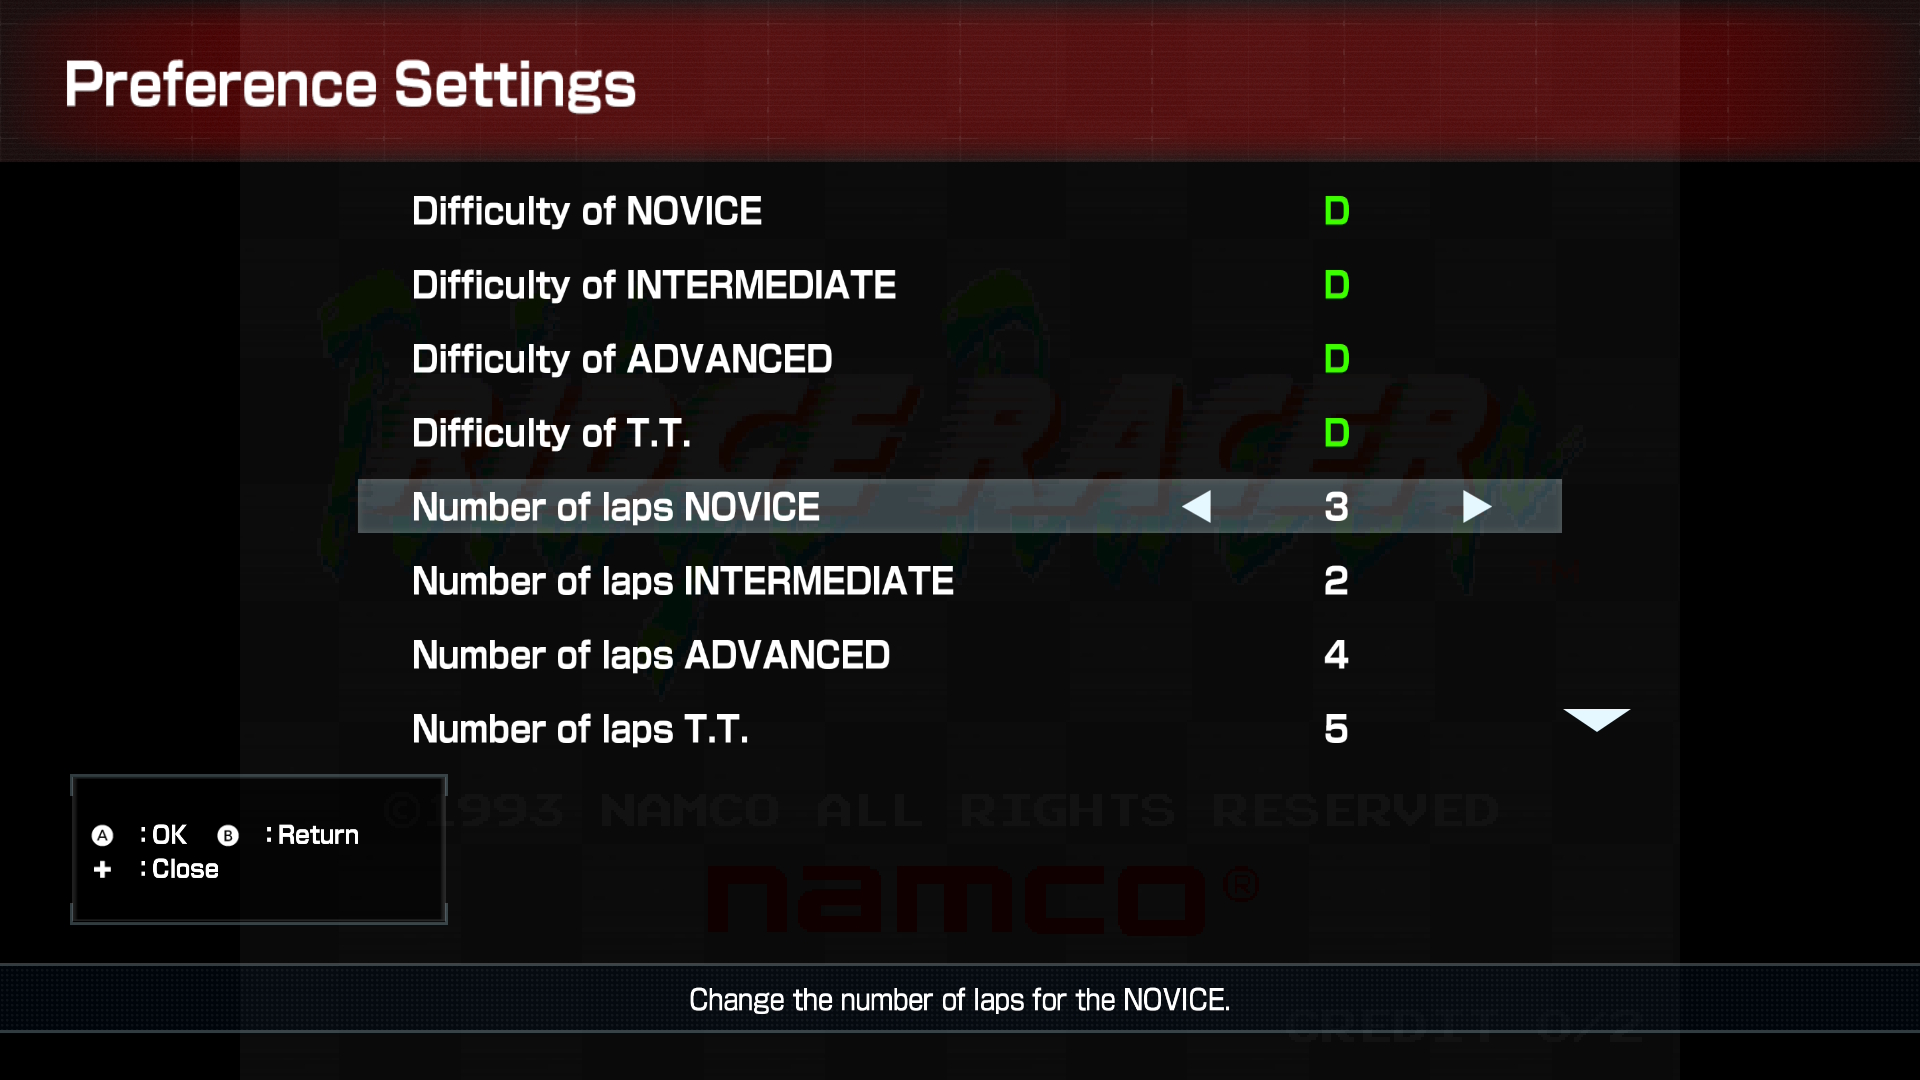
Preference Settings
Difficulty
You can set the difficulty level from H (Easiest) to A (Hardest). The higher the difficulty, the less time you’ll gain at each checkpoint compared to easier levels like H. Difficulty settings apply only in ORIGINAL MODE. HI SCORE MODE and CARAVAN MODE are fixed to difficulty D.
Number of Laps
You can also set the number of laps. Choose from 2 to 5 laps for your run. Lap count settings are only available in ORIGINAL MODE. In HI SCORE MODE and CARAVAN MODE, the number of laps is fixed based on each level. However, in INTERMEDIATE level of CARAVAN MODE, you can reach a “6th lap,” which cannot be changed even in Preference Settings.
Game Modes Introduction
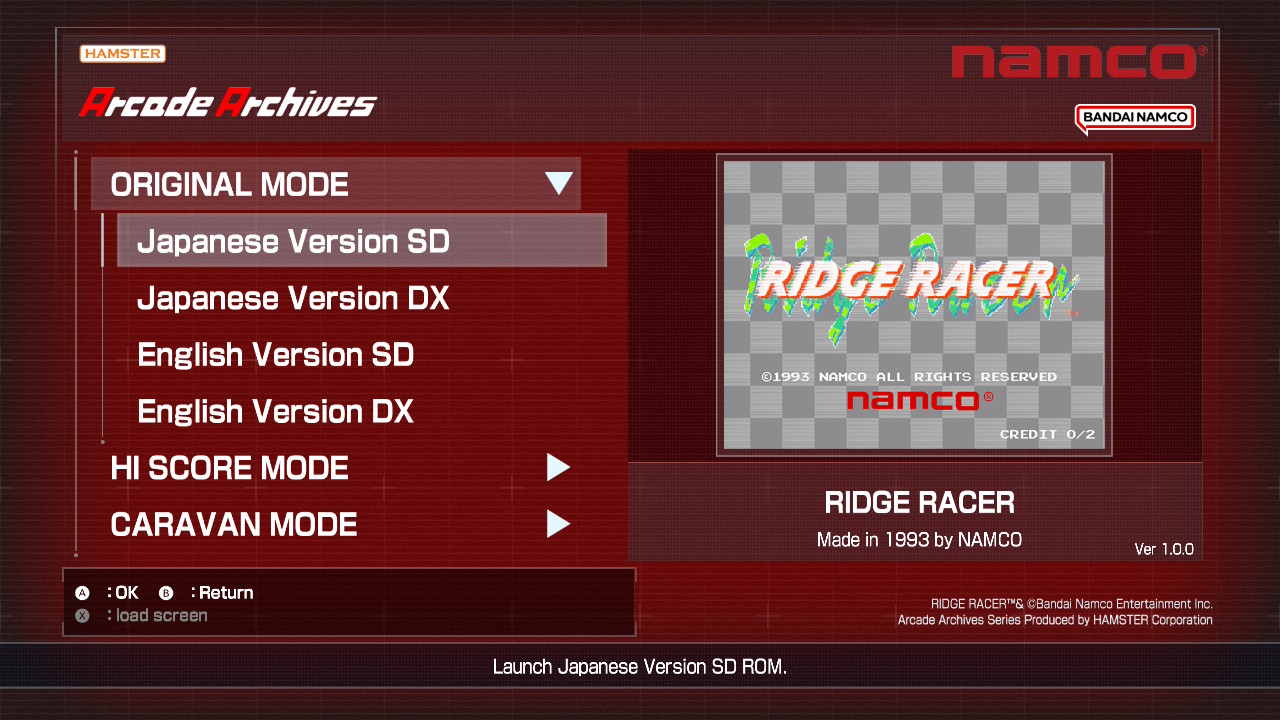
ORIGINAL MODE
Enjoy the standard game experience. With flexible options like changing game settings from the menu or saving and loading anytime during gameplay, you can play your way. In ORIGINAL MODE, you can enjoy four different versions: Japanese Version SD, Japanese Version DX, English Version SD, and English Version DX.
HI SCORE MODE
Compete against players worldwide by submitting your single-play results to the online leaderboard. In HI SCORE MODE, your goal time is recorded, so if you fail to pass the checkpoints in time and get a Game Over, your score won’t be submitted. You can take on four challenge levels: NOVICE, INTERMEDIATE, ADVANCED, and T.T. (Time Trials).
CARAVAN MODE
Compete against players worldwide by submitting your score achieved within the 5-minute time limit to the online leaderboard. In CARAVAN MODE, your score is based on how far you can drive, so even if you get a Game Over along the way, your progress still counts. ou can take on four challenge levels: NOVICE, INTERMEDIATE, ADVANCED, and T.T. (Time Trials).
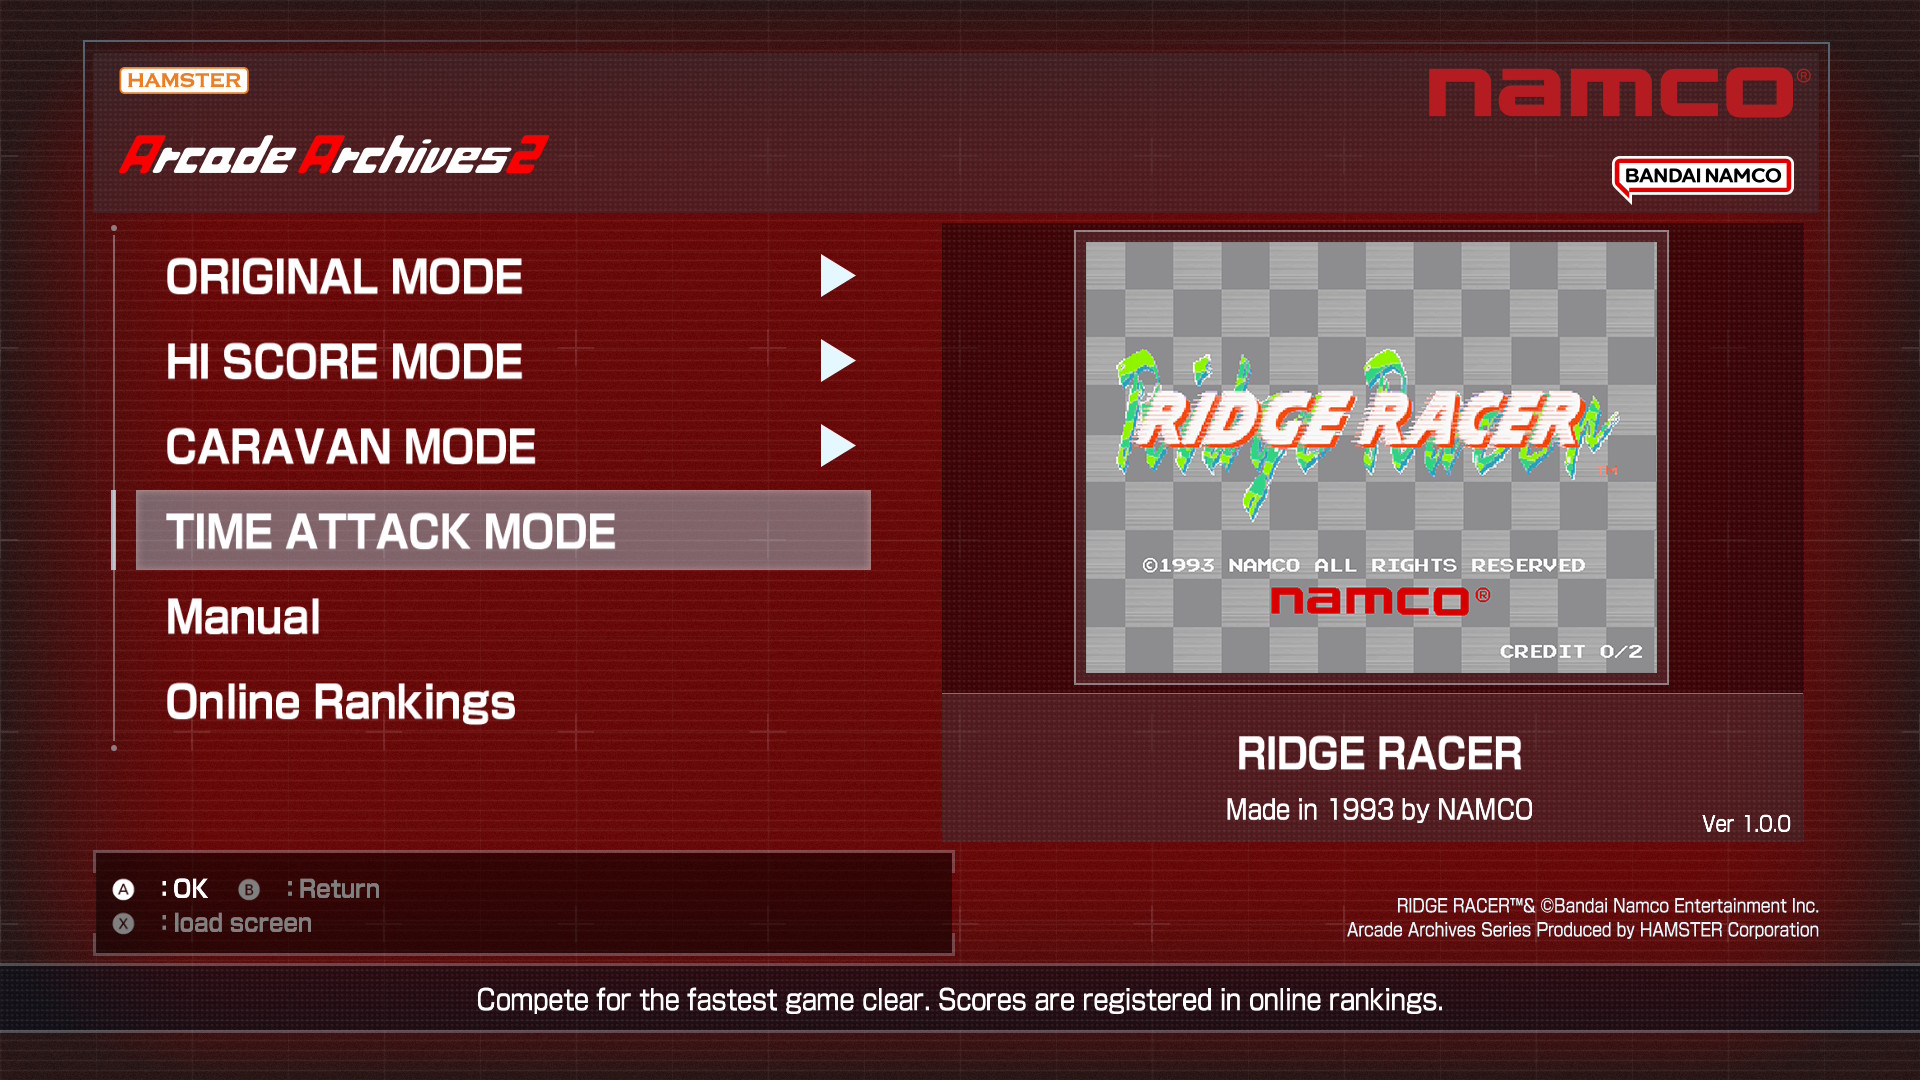
TIME ATTACK MODE
*Arcade Archives 2 Exclusive Mode
Compete against players worldwide by submitting your total completion time across all ORIGINAL MODE levels played consecutively to the online leaderboard. Hit checkpoints after clearing each level: NOVICE, INTERMEDIATE, and ADVANCED. You can register your time on the Online Rankings once you reach all checkpoints.
Online Rankings
Online Rankings are available for HI SCORE MODE and CARAVAN MODE. You can view not only your own ranking, but also detailed results for any player by selecting their player name and pressing the [Confirm] button. From [User Details] you can also view each player’s profile. The [Display Settings] option allows you to filter the leaderboard to show only players using AT or MT.
Options Menu Introduction
Save Anytime
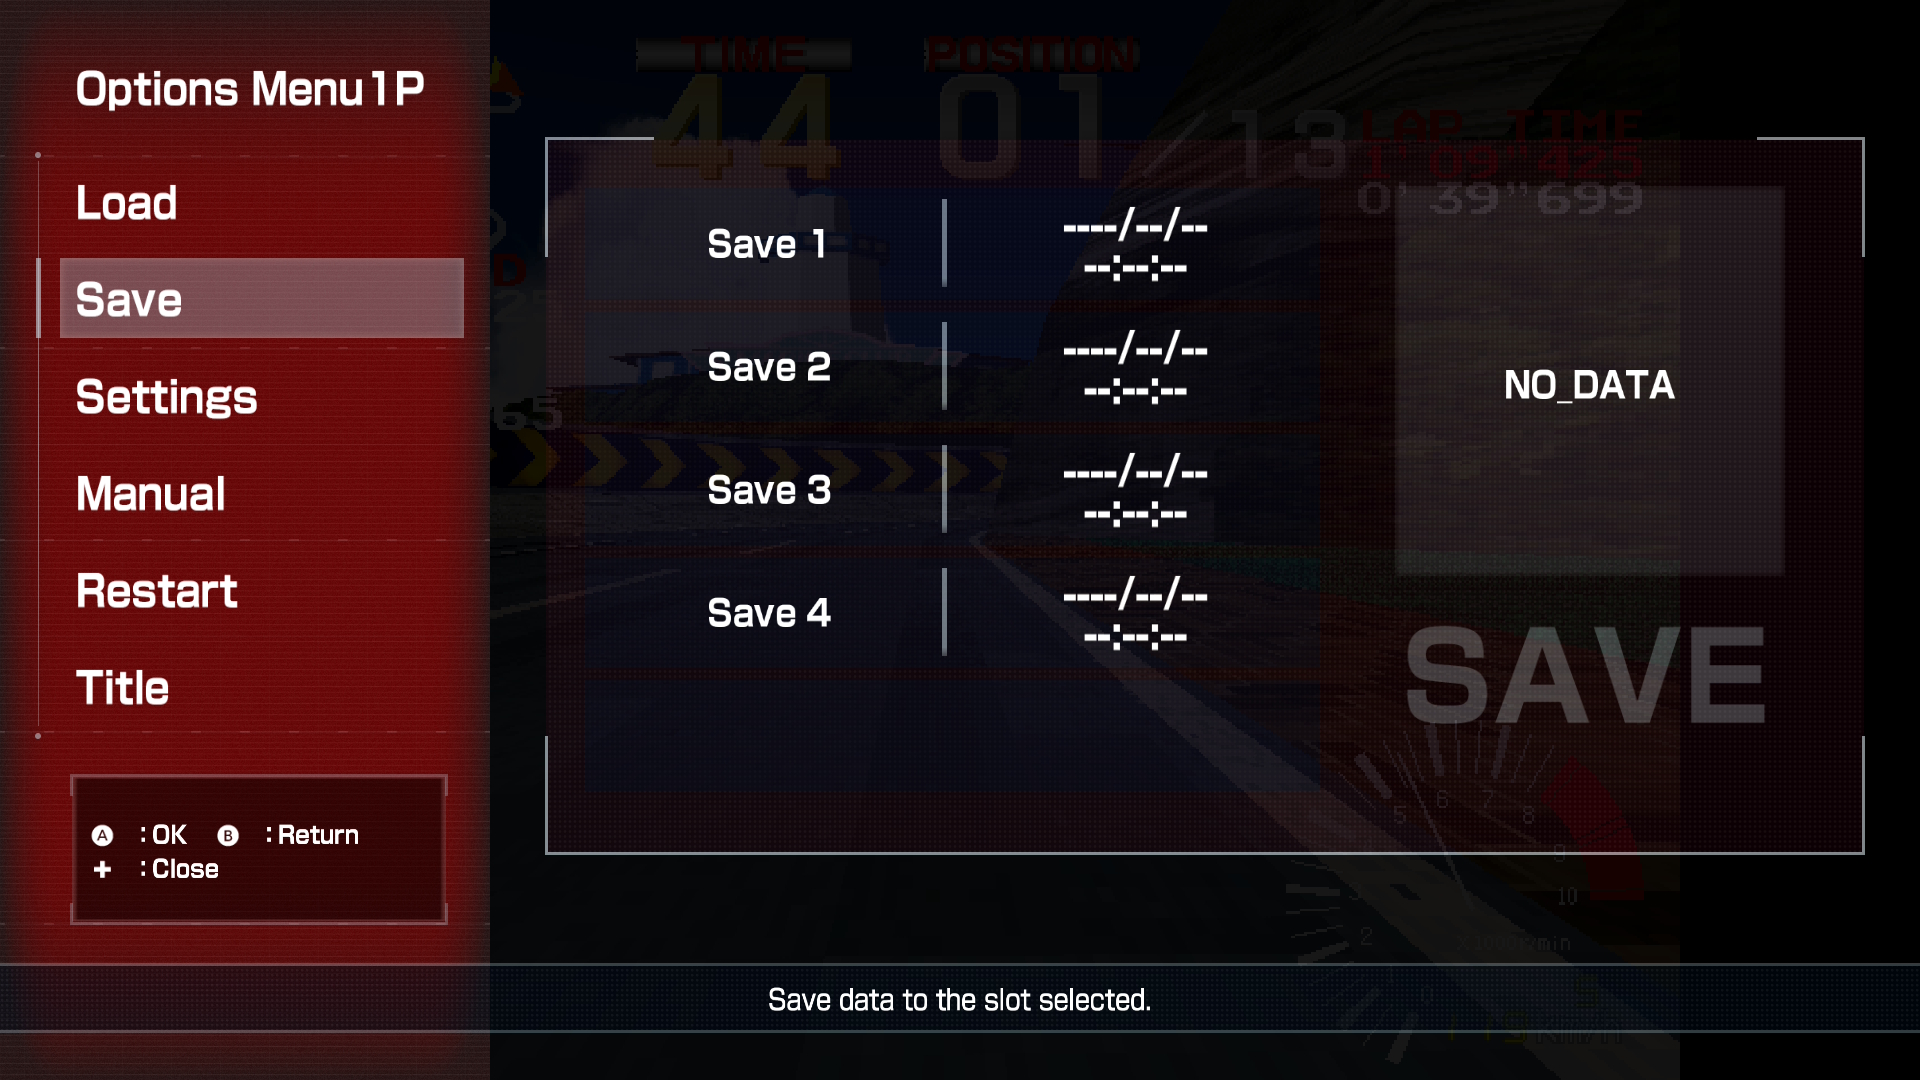
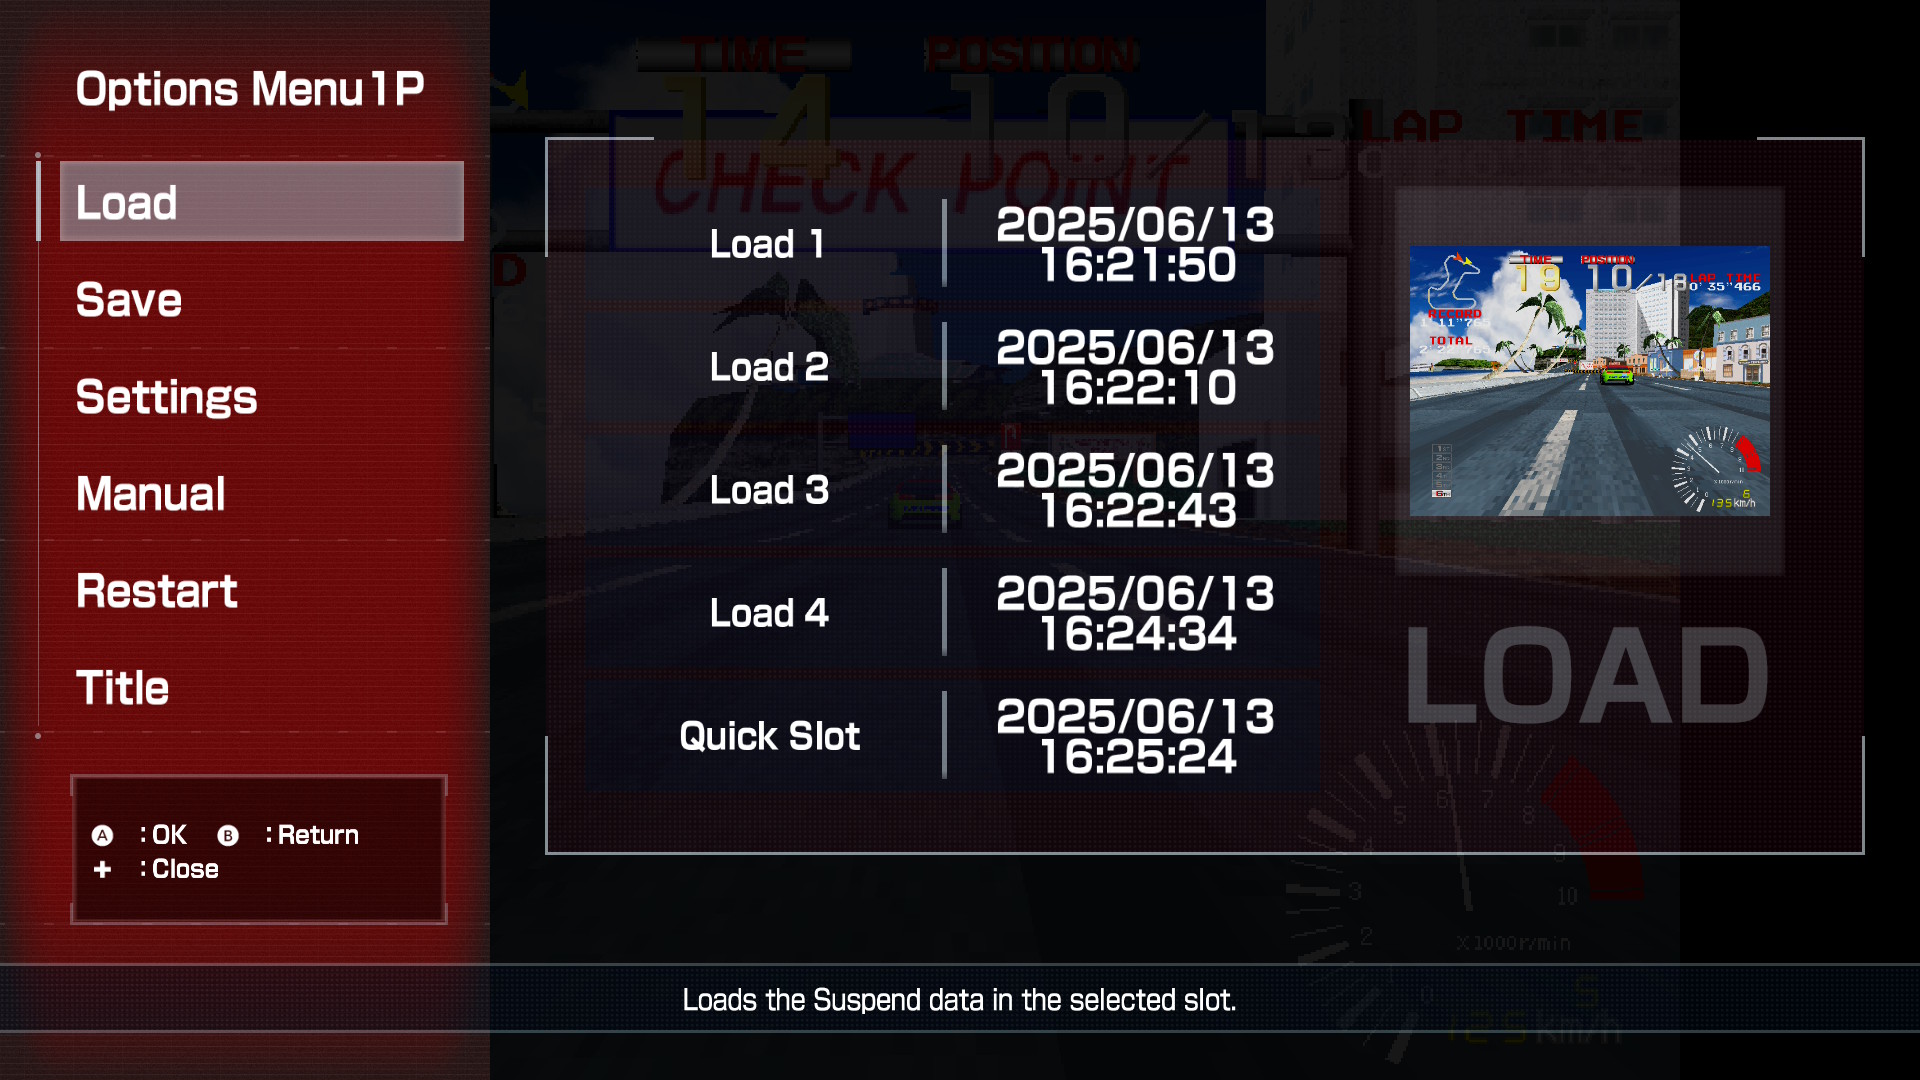
In ORIGINAL MODE, you can create a total of 5 save data slots: 4 [Save Slots] that let you save anytime during gameplay, and 1 [Quick Slot] for one-button quick saves. When you reach a moment in the game you’d like to save, open the [Options Menu] and select the [Save] option. Choose one of the slots from 1 to 4 to save your progress ([Quick Save] uses a button assignment). To delete save data, follow the on-screen instructions. You can use this feature in lots of helpful ways: like saving right before a tricky corner to practice, or saving after passing a checkpoint when you still have time left. If you hit Game Over, just reload and try again! It’s perfect for training and tackling tough spots.
Load Anywhere
Saved data can be loaded at any time while playing in ORIGINAL MODE. Just open the [Options Menu] and select the [Load] option. On the load screen, you’ll see the date and time of each save along with a thumbnail image, so you can easily pick the moment you want to jump back to. You can also select the save slot created with [Quick Save], allowing you to load your game from any saved point. To delete save data, follow the on-screen instructions.
Quick Save & Quick Load
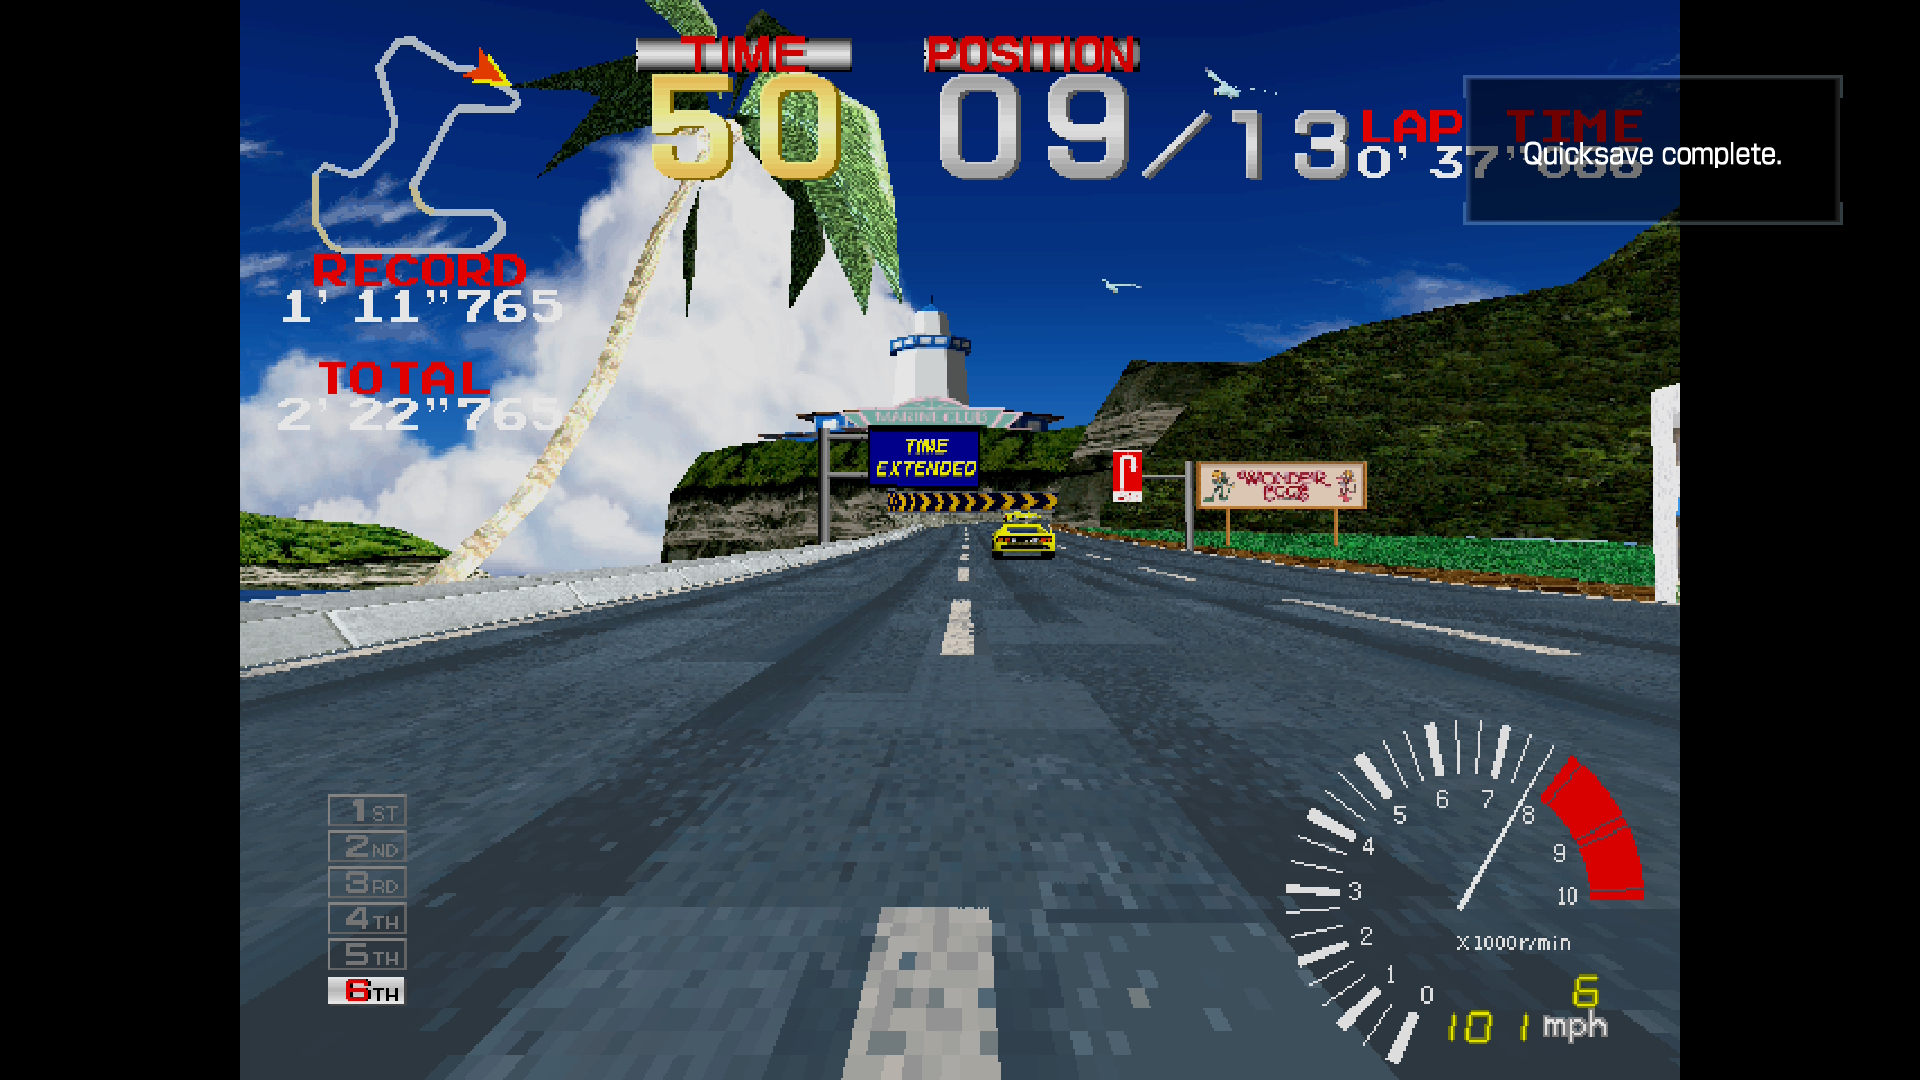
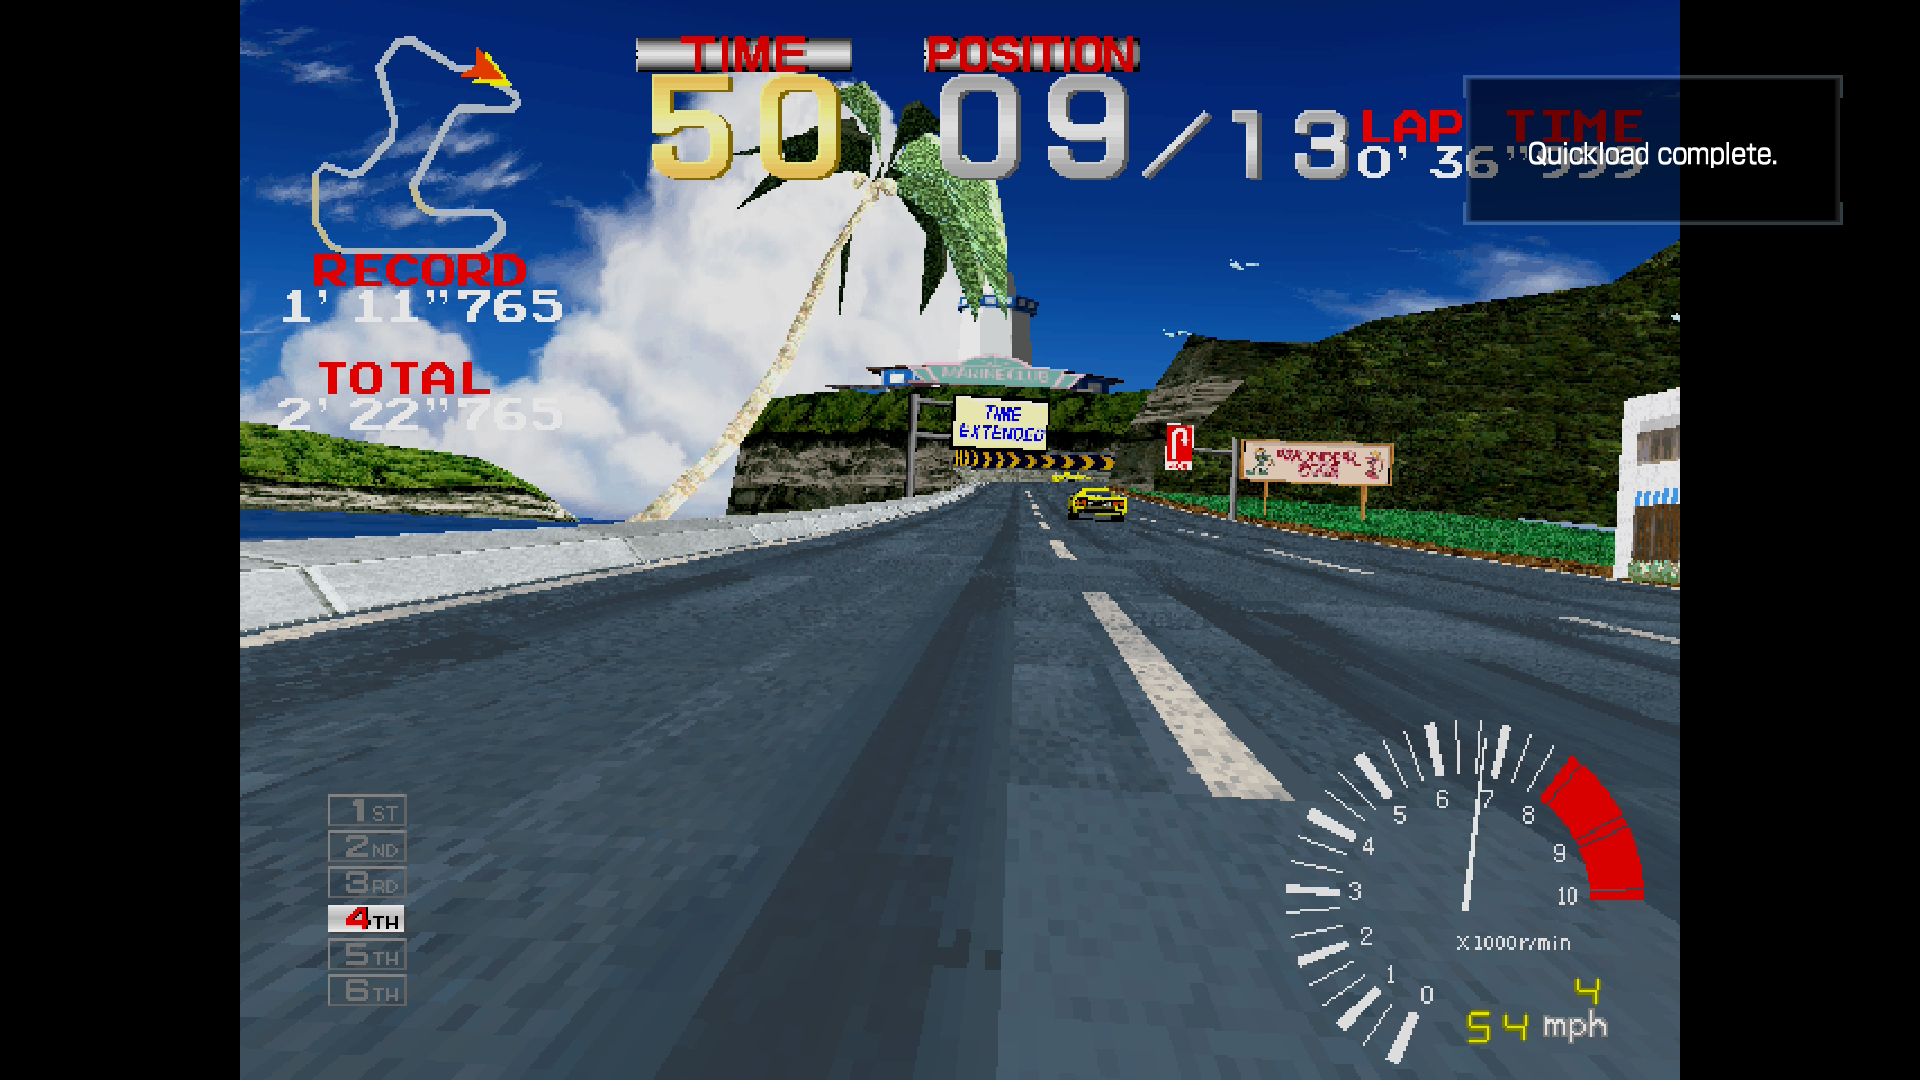
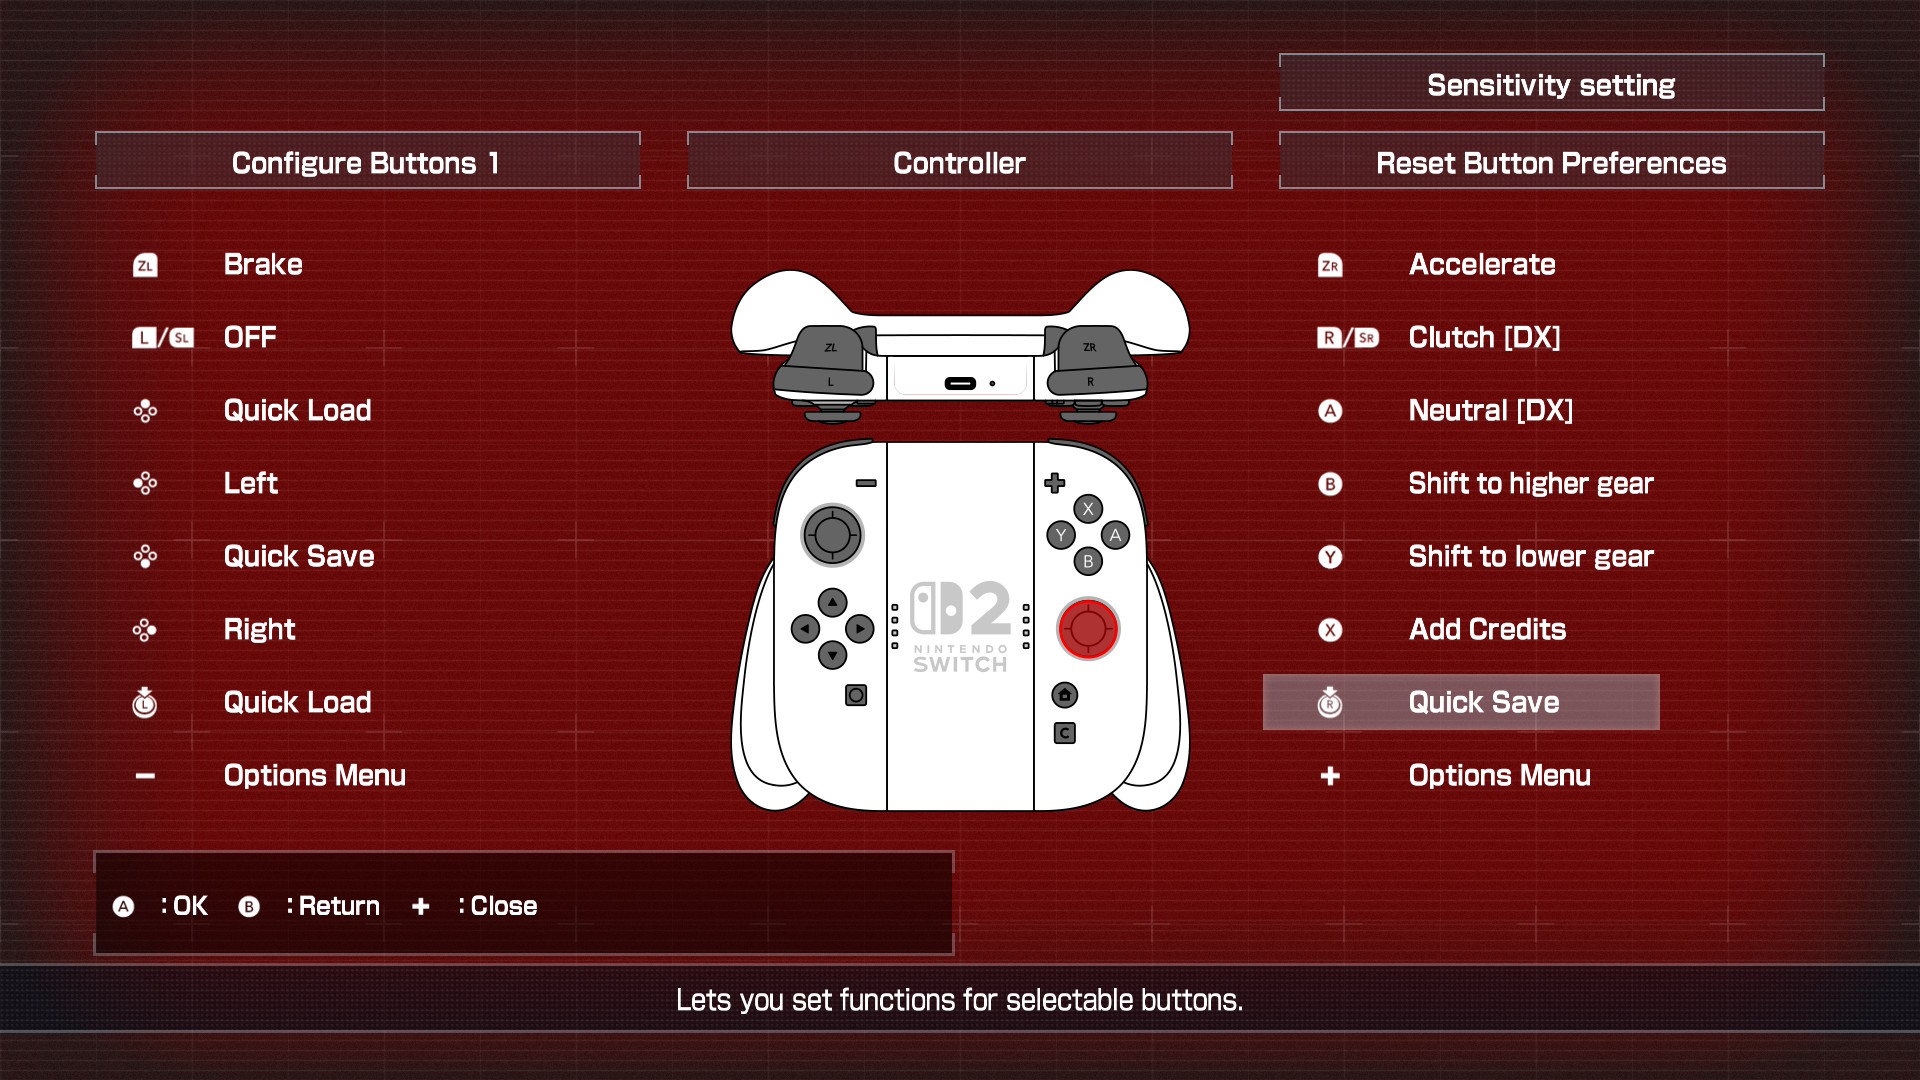
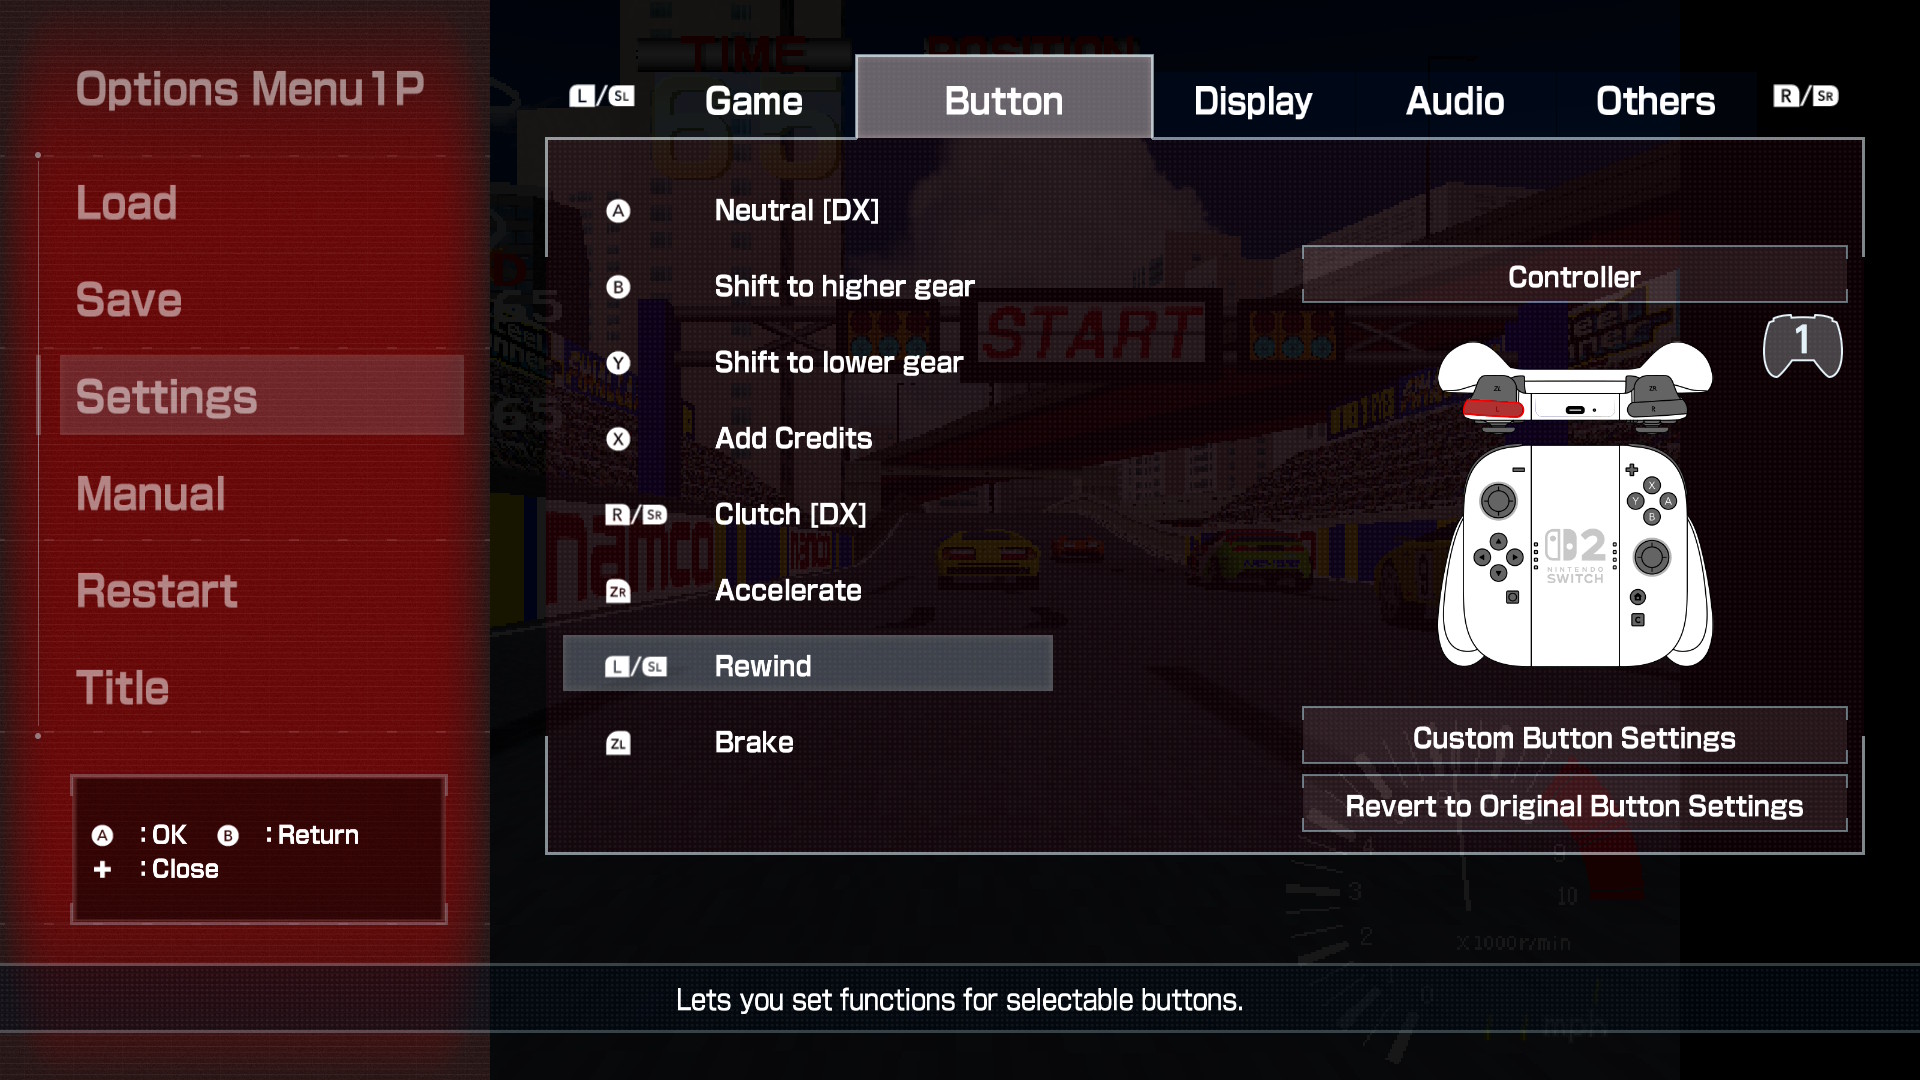
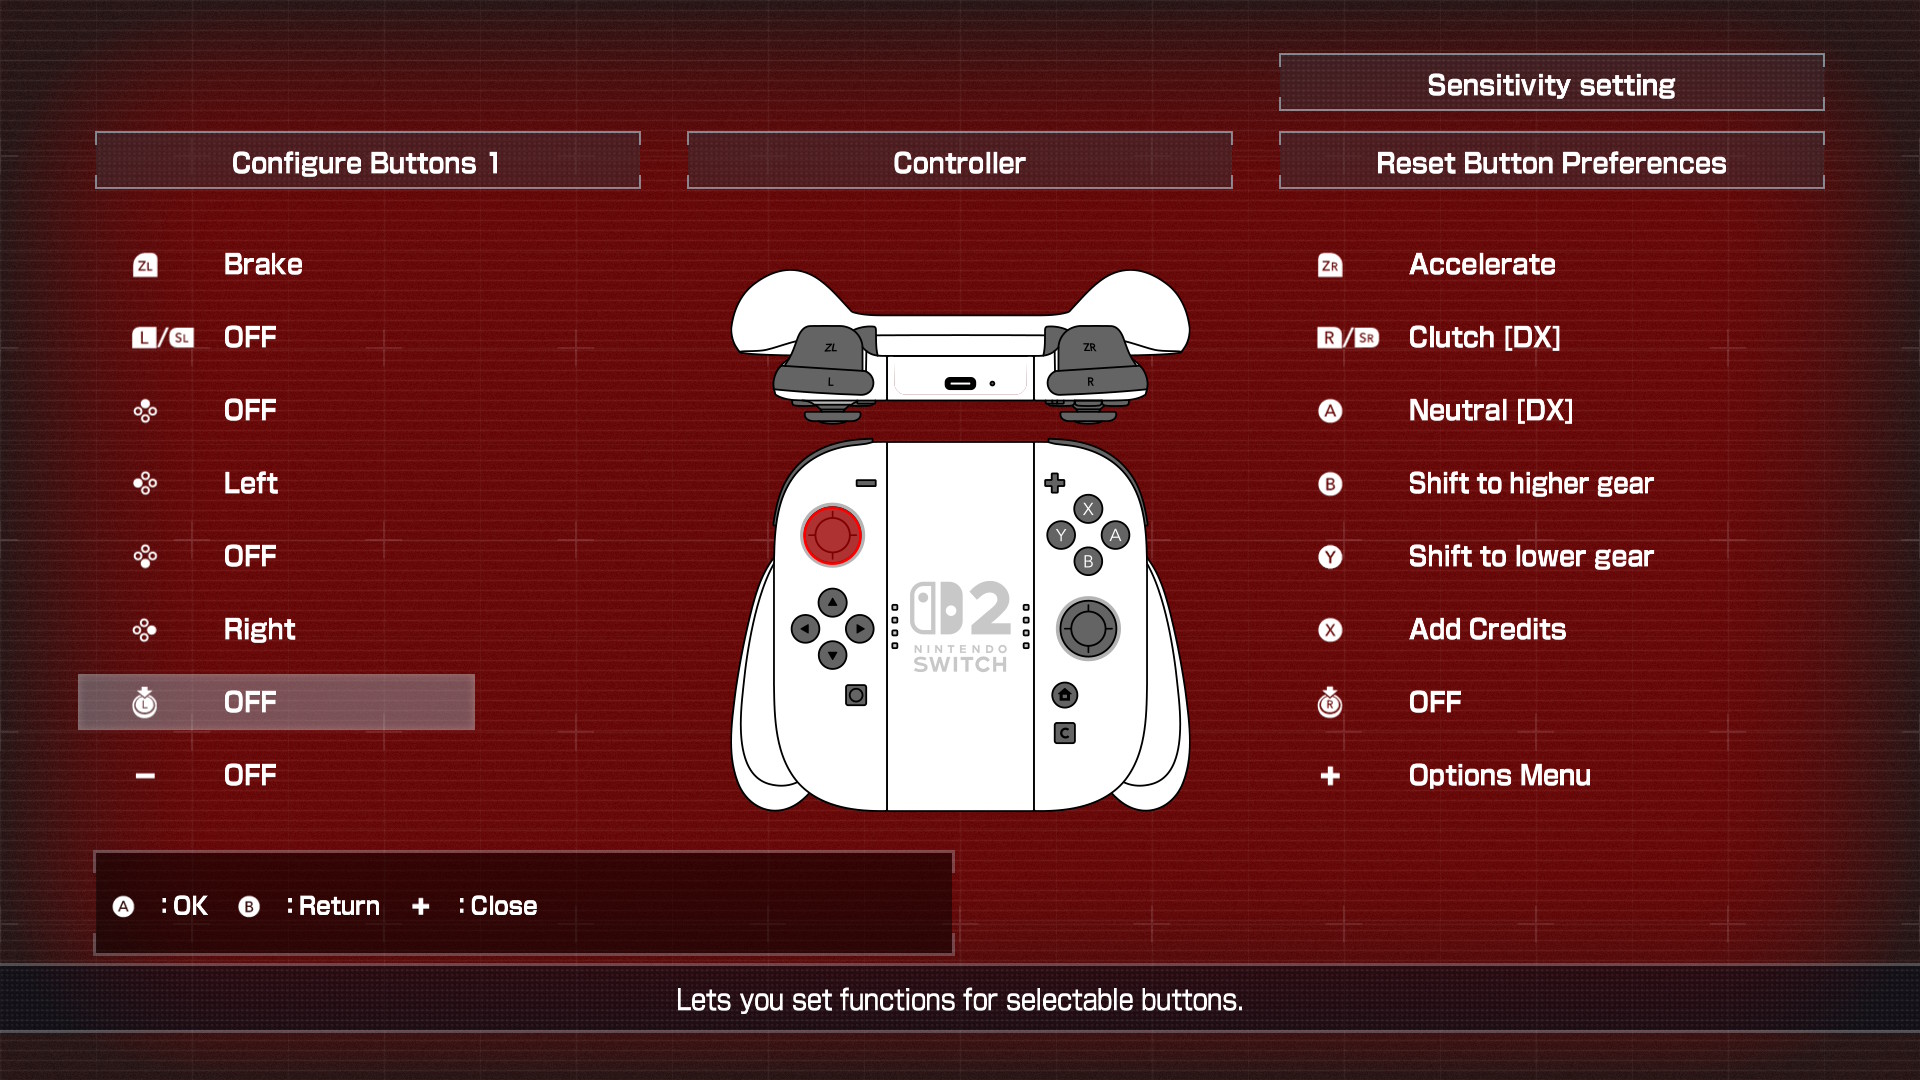
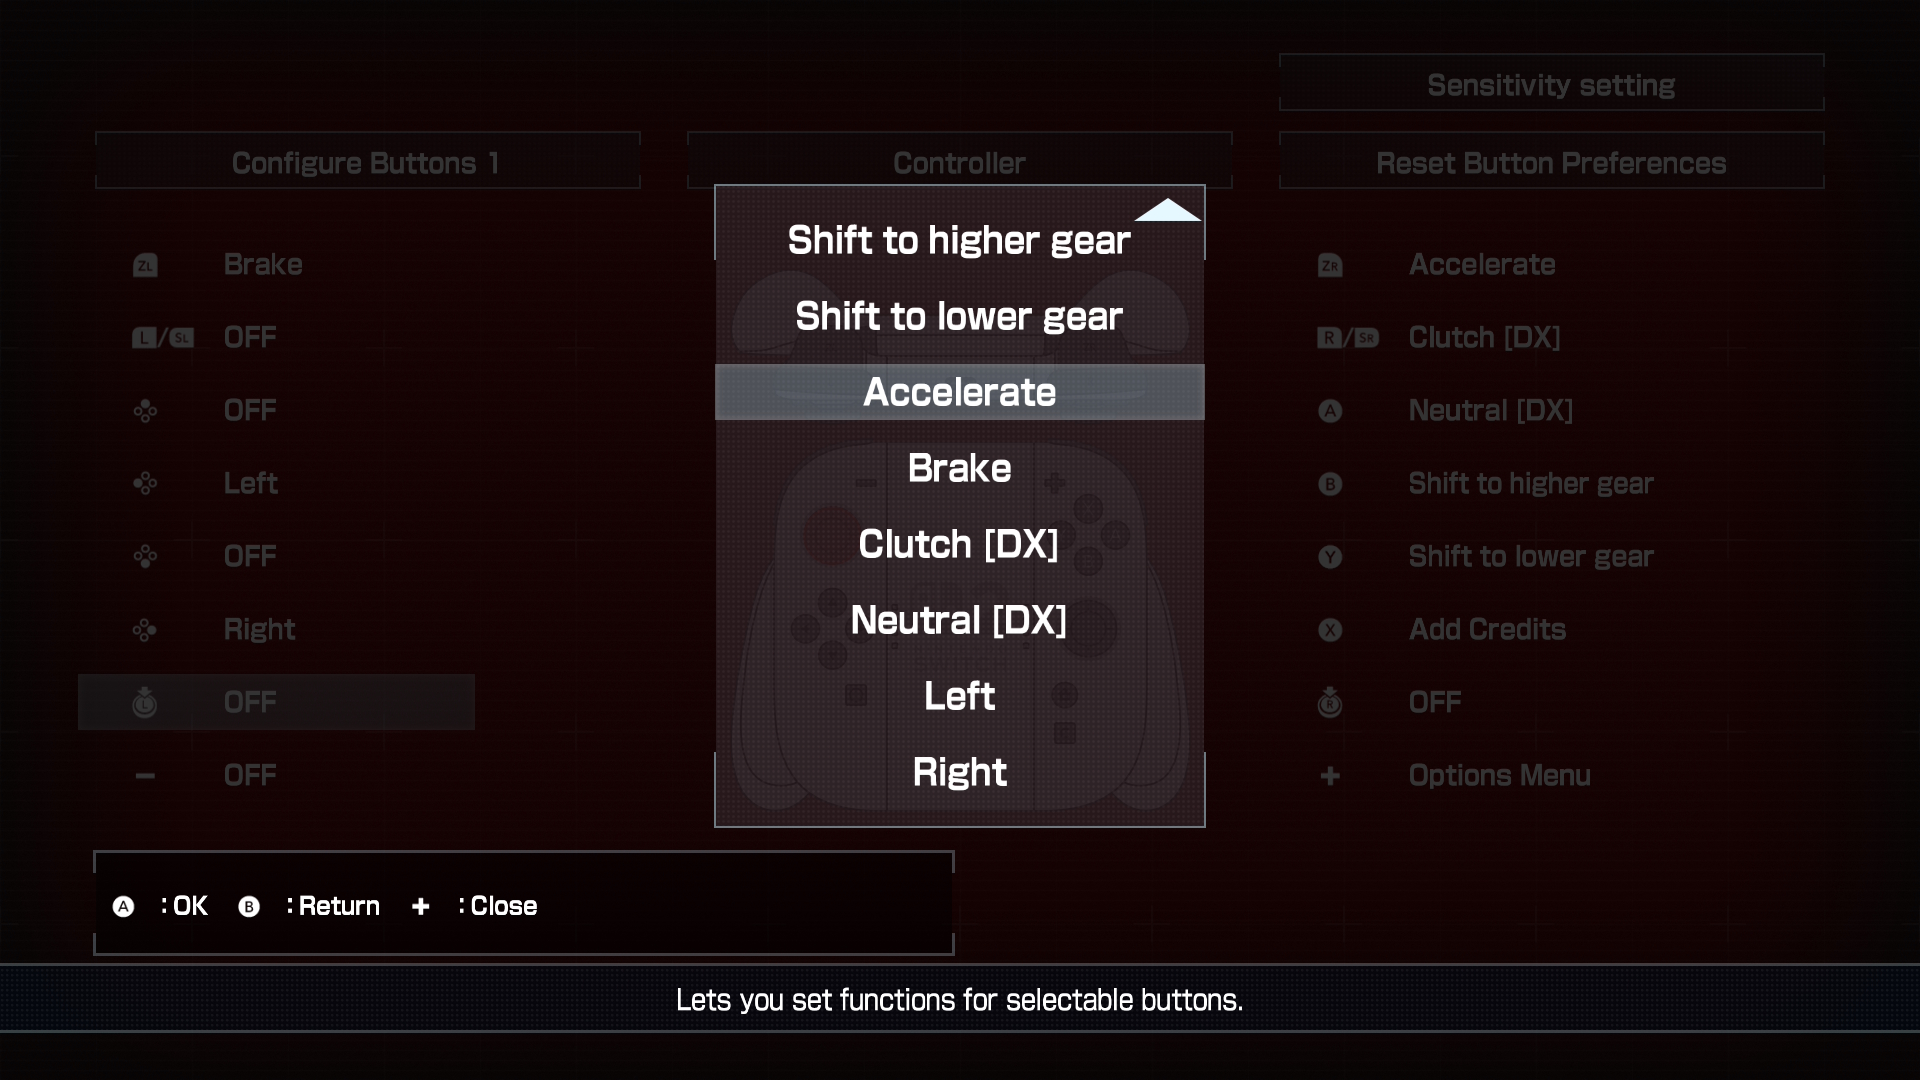
With [Quick Save] and [Quick Load], you can use the save and load features without interrupting your gameplay. By default, [Quick Save] and [Quick Load] are not assigned to any buttons. To set them up, open the [Options Menu] go to [Settings] and assign them from the [Button] section. From the [Custom Button Settings] menu, we recommend assigning [Quick Save] to the Right Stick click and [Quick Load] to the Left Stick click. This lets you use [Quick Save] without taking your hand off the Accelerator while driving, and makes it easy to use [Quick Load] whenever you need it. You can even assign the same function to multiple buttons, such as the up or down directional buttons, so feel free to customize it however you like!
Rewind Time with the Rewind Feature
In ORIGINAL MODE, the [Rewind] feature lets you turn back time just a few seconds, perfect for when you accidentally bump into another car, miss your line, or forget to create a save point. By default, the [Rewind] function isn’t assigned to any button. To use it, open the [Options Menu] go to [Settings] and assign it to a button of your choice under [Button] > [Custom Button Settings]. The [Rewind] feature doesn’t allow you to rewind freely; it only rewinds a few seconds from the moment you press the button. We recommend assigning it to a button like “L Button” so you can press it quickly in the heat of the moment without fumbling. It takes a little practice to master, but once you get the hang of it, you can erase your mistakes and try again and again to perfect your run.
User-Friendly Button Settings
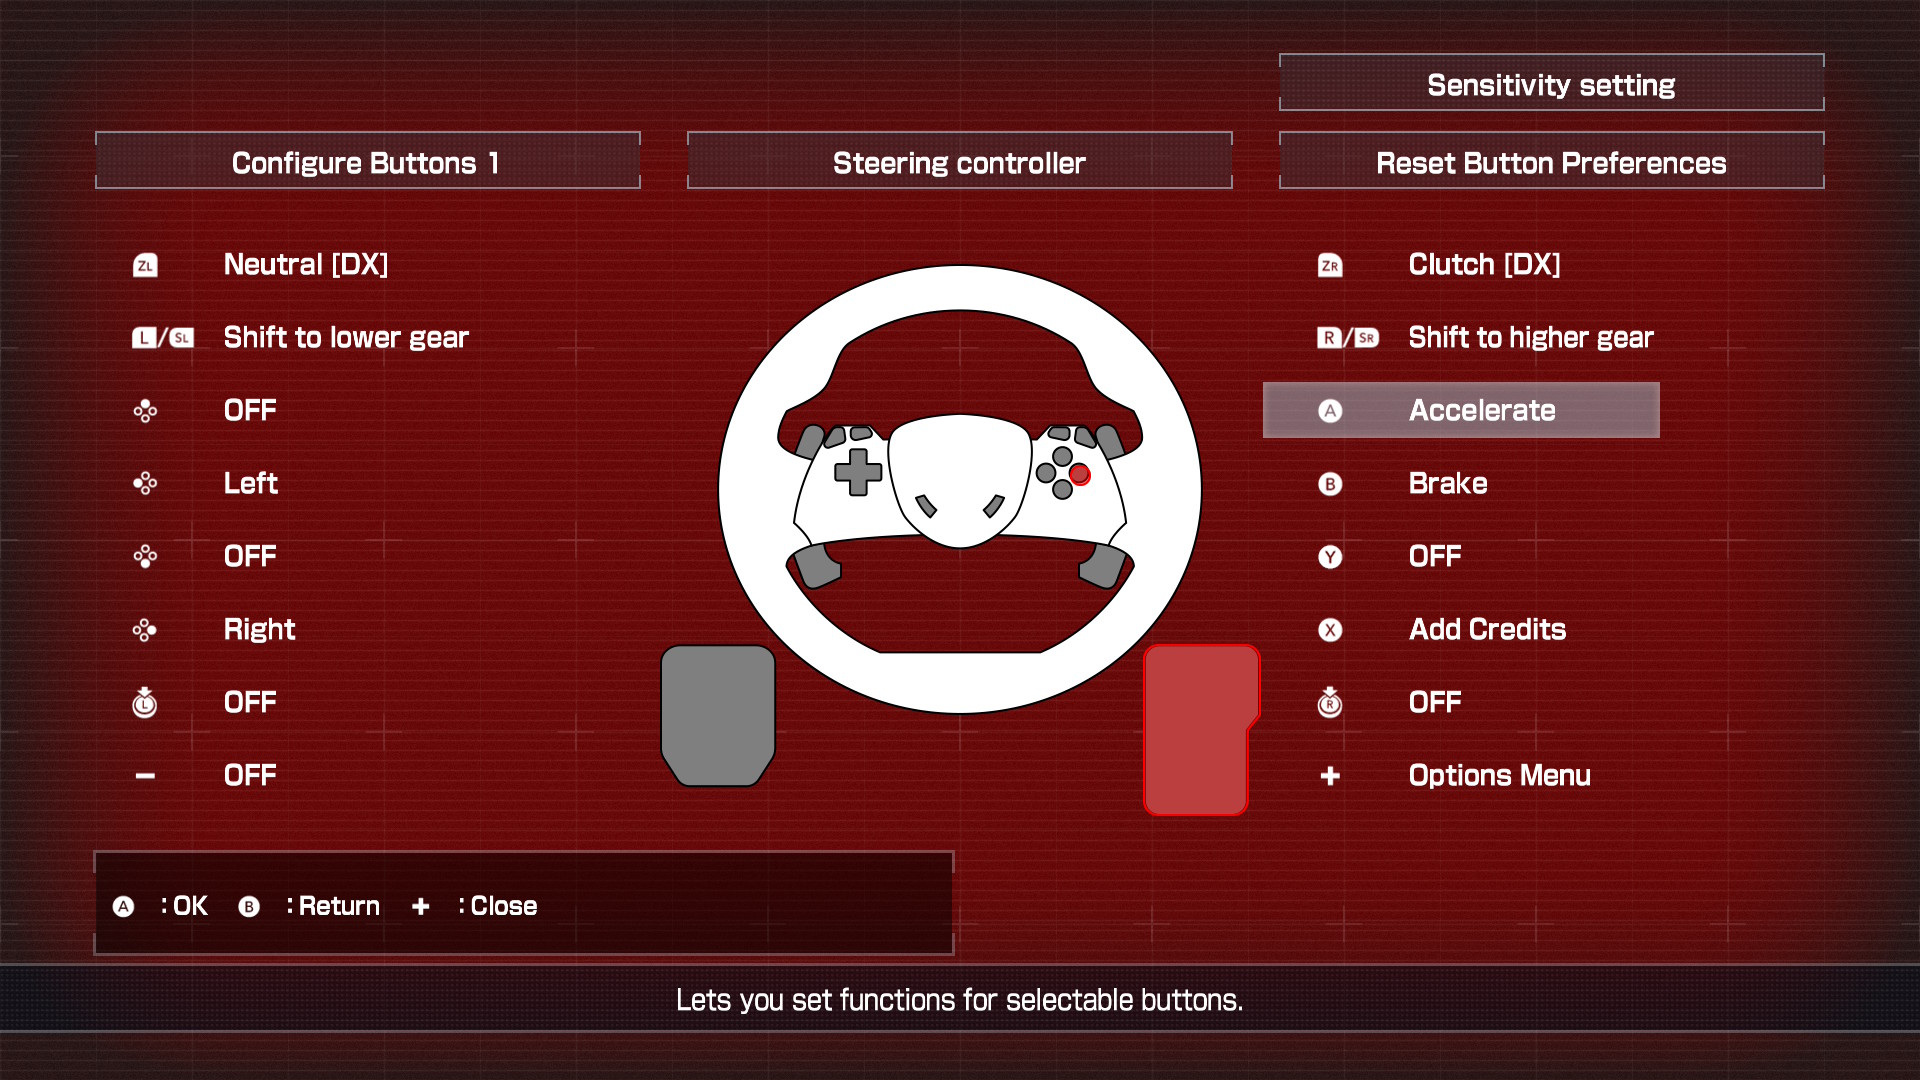
In the [Custom Button Settings] screen, you’ll see a visual layout of the corresponding default buttons, making it easy to assign every control, even [Steering] and [Accelerate] buttons. The [Sensitivity Settings] menu also lets you adjust the steering wheel’s [Maximum angle of handle], [Dead zone], and other parameters. You can even assign the same function to multiple buttons, allowing you to customize the controls to suit your preferred play style. You can even assign the same action to multiple buttons, so feel free to set things up in the way that feels best for you. In the SD version, the [Left Stick] handles steering, while the [Right Stick] controls Acceleration (up) and Braking (down). In the DX version, the [Left Stick] handles steering, but the [Right Stick] is locked to H-pattern shifting. Just imagine the [Right Stick] as a gear shifter, move it to shift from 1st to 6th gear like you’re driving the real thing!
Multiple Button Sets
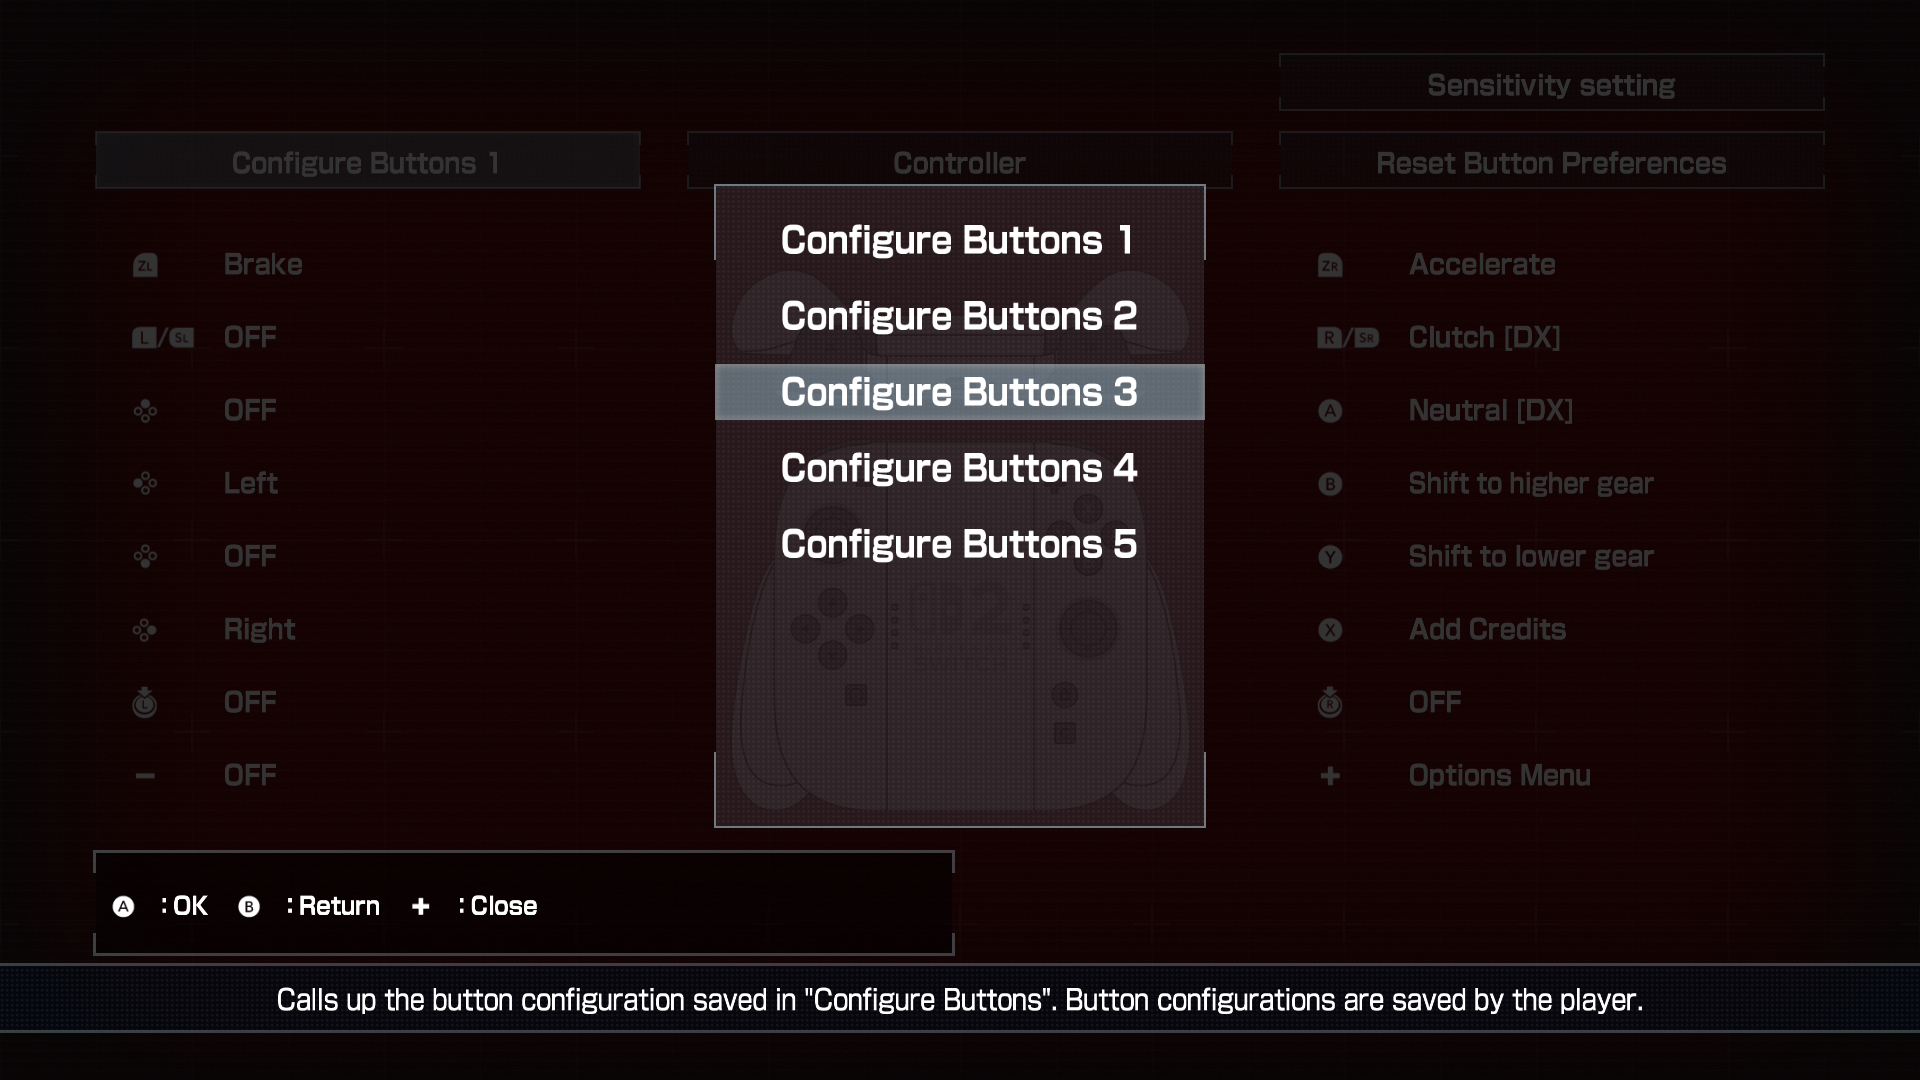
Did you know that your [Custom Button Settings] can be saved as [Button Sets] from “Configure Buttons 1” section, up to five per player! You can create and save multiple setups to match your preferences, then easily switch between them depending on the game mode or difficulty level you’re taking on.
Steering Controller
If you have a steering controller, you can change its button layout by selecting one of the available presets (default settings). These presets make it much easier to handle the often complex setup of specialized controllers. Try out the different settings and find the one that feels just right for your style!
Screen filters
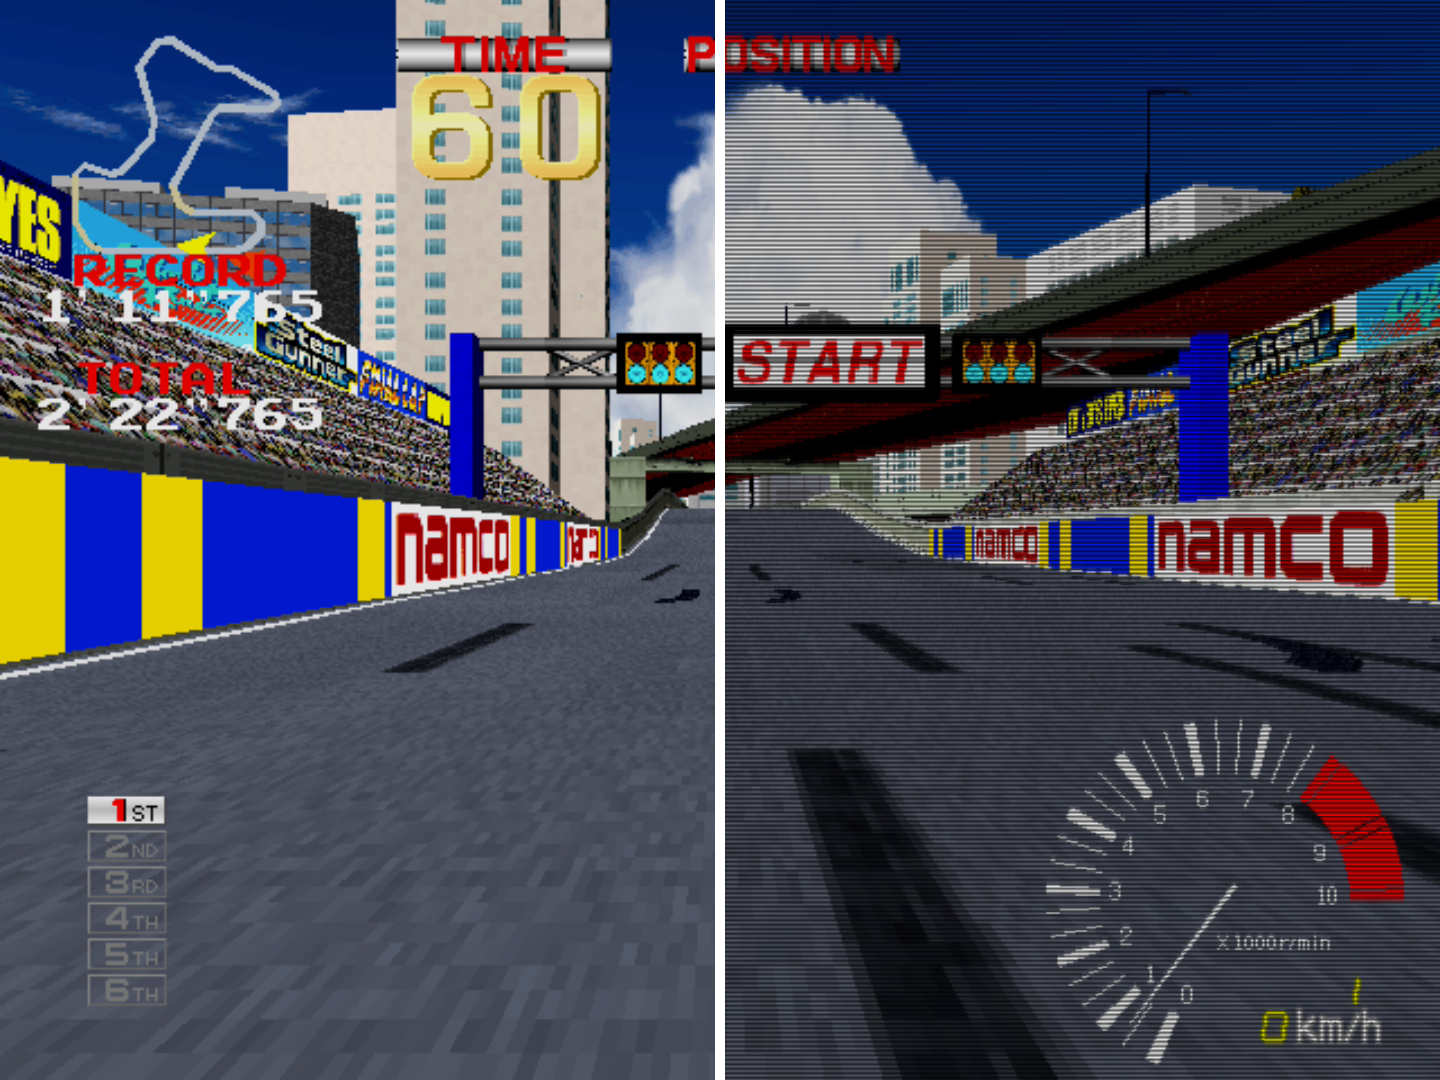
The [Screen Filter] option lets you add Scanlines to recreate the look and feel of classic arcade monitors. Depending on the settings, the screen might get a bit darker, so feel free to adjust the intensity until it feels just right. The [Custom Screen Settings] menu includes additional options for recreating the authentic arcade experience, such as [CRT TV Filter] which reproduces the classic screen curve; [Brightness] which darkens the corners of the screen to mimic the appearance of a well-worn CRT monitor; and [Screen Noise], which adds visual noise.
Screen Layout
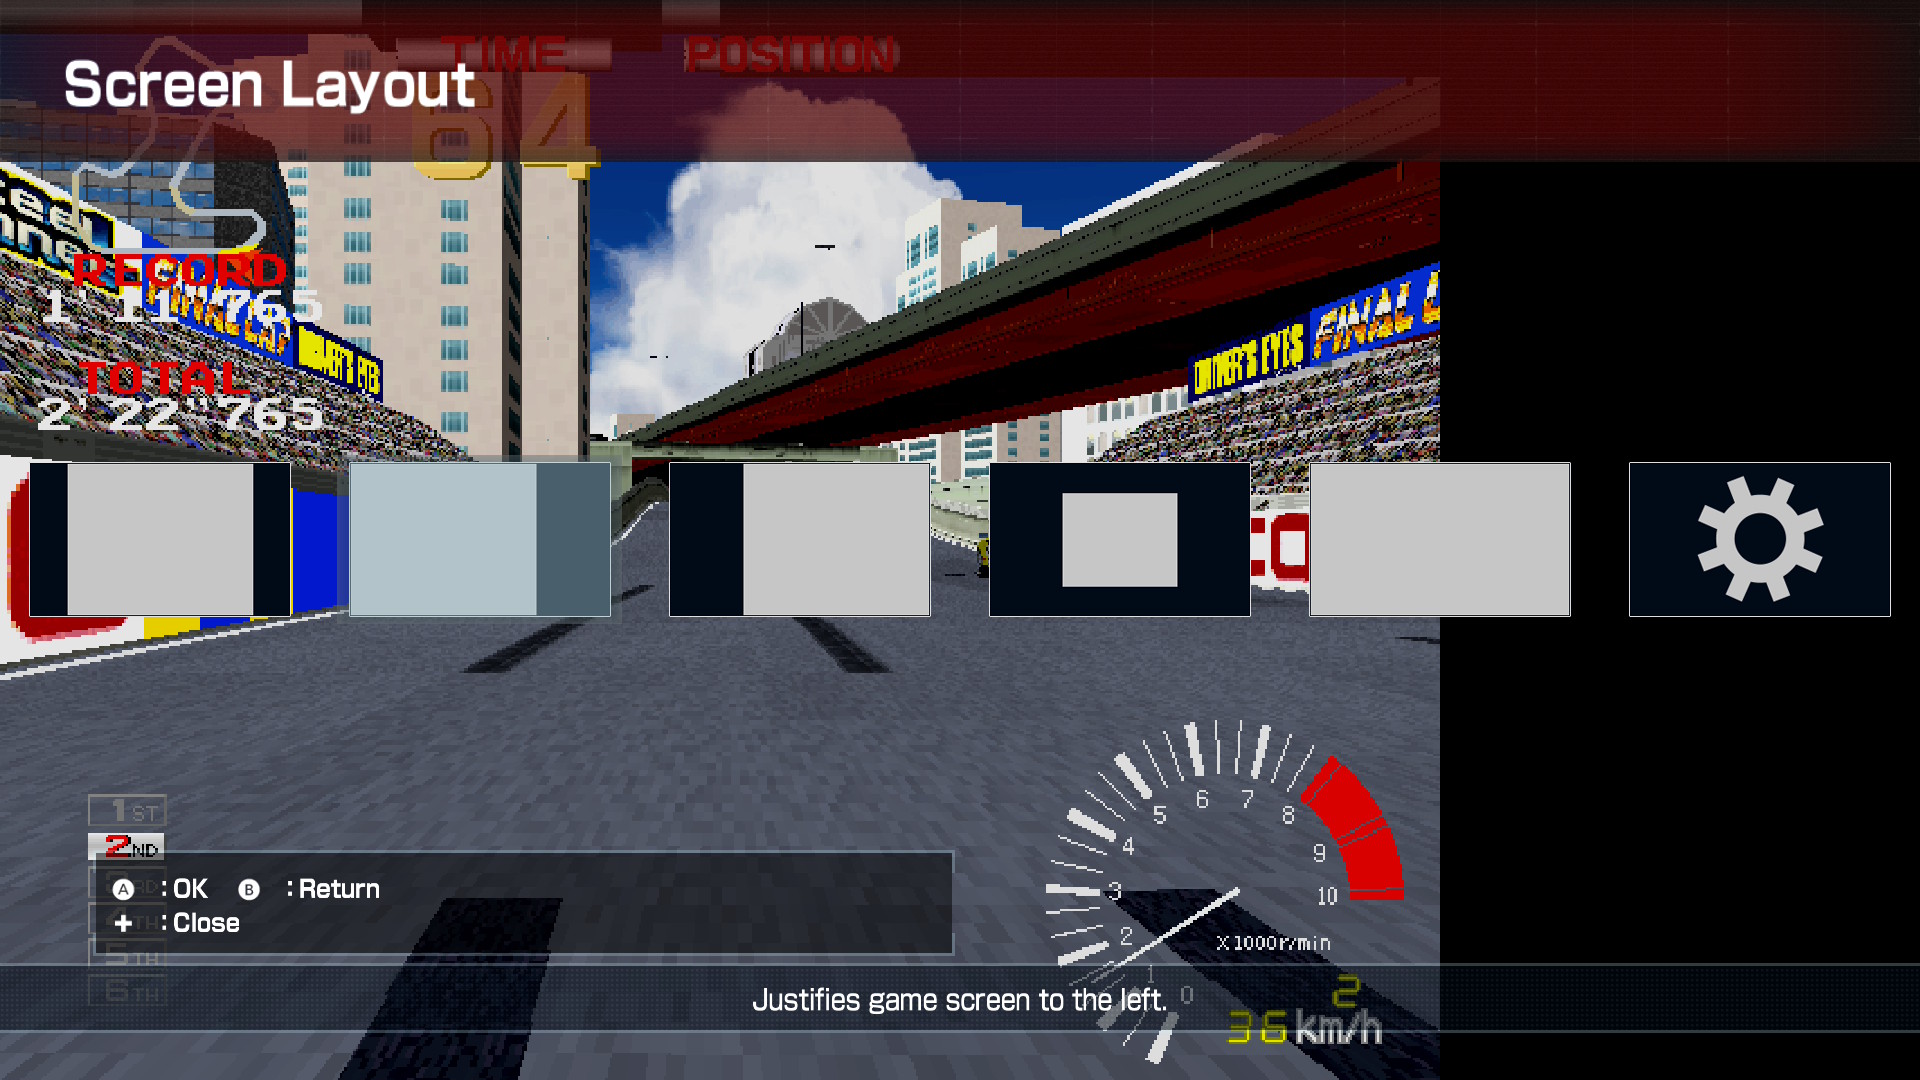
With the [Screen Layout] settings, you can shift the empty spaces to the sides using Presets, or go full custom with [Dot-by-Dot] to place the screen exactly where you want it. If you’ve got a 4:3 monitor or display, you can even stretch the game to fill the whole screen. (Please note that on monitors with a 16:9 aspect ratio, the image may appear stretched horizontally.)
Wallpaper and Screen Display Border
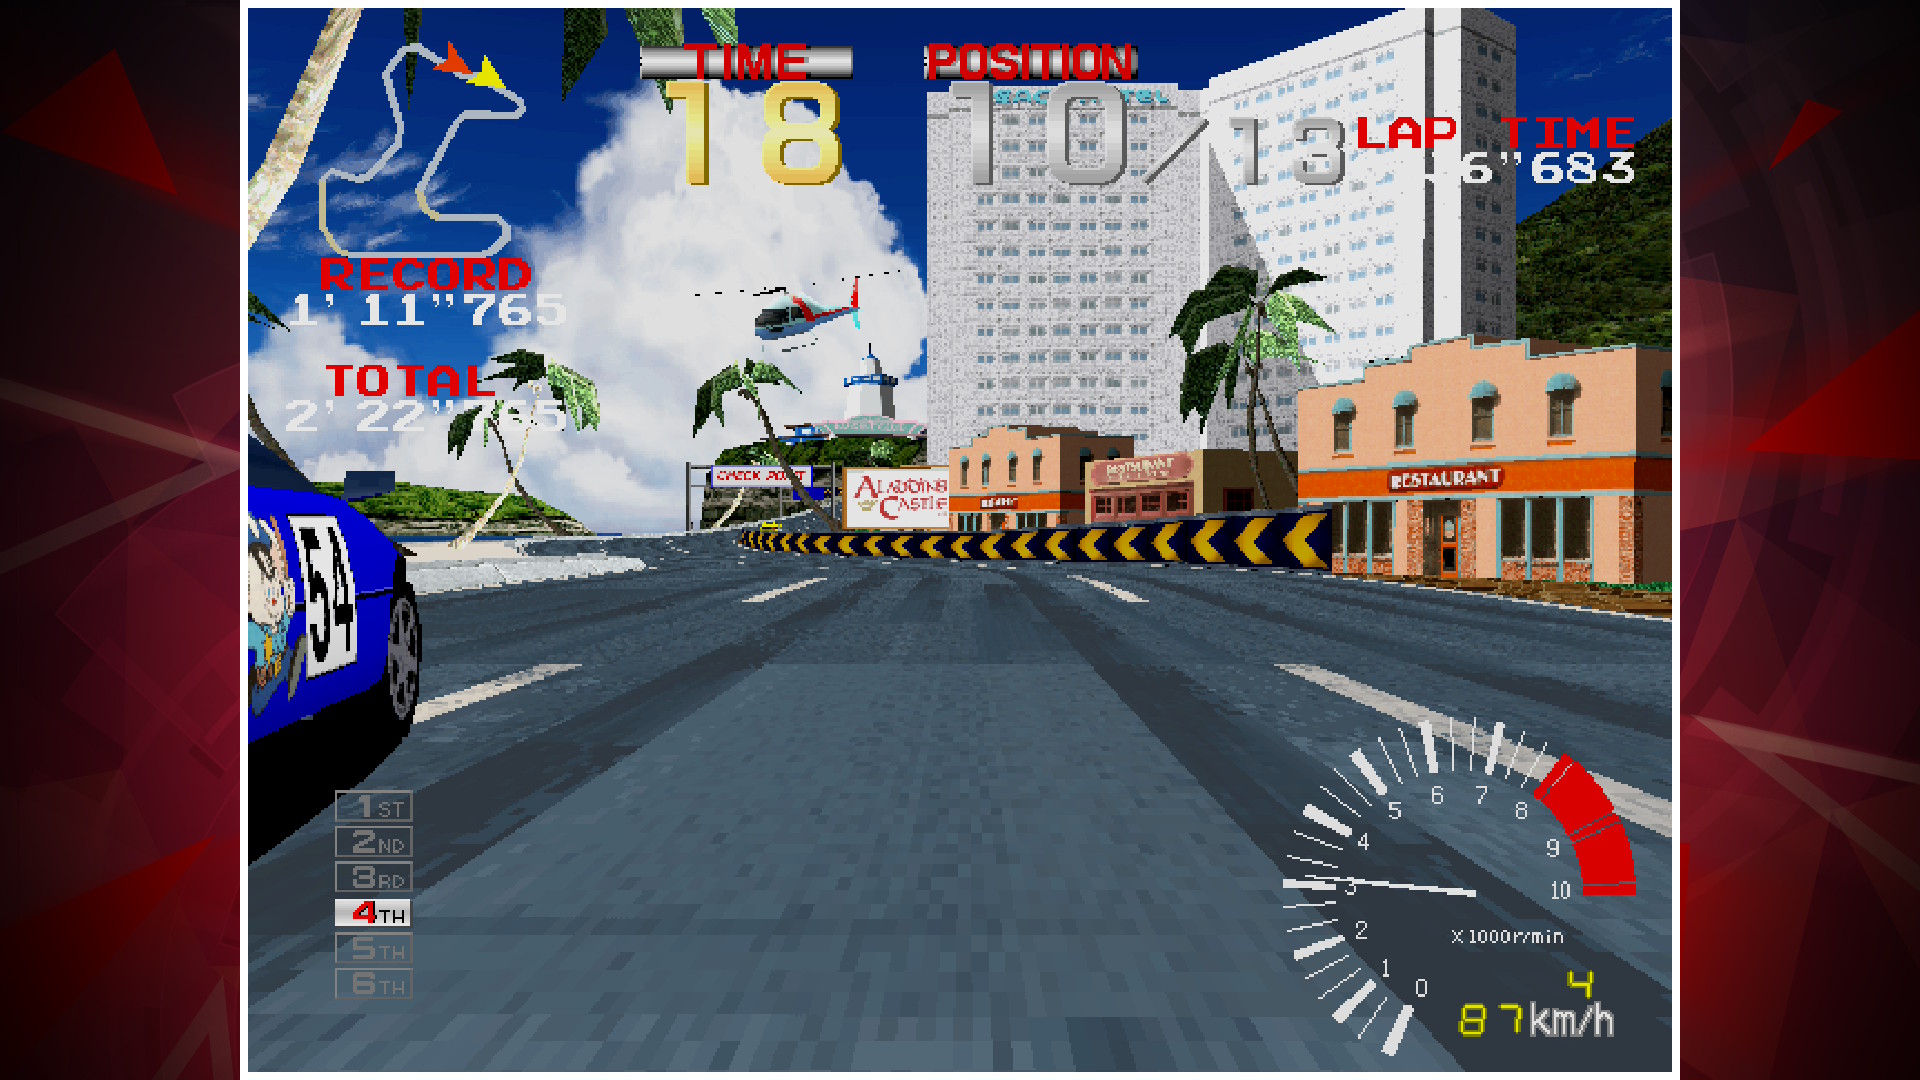
Try enabling a [Wallpaper] or [Screen Display Border] to make the empty areas on the screen blend right in.
On this website, we use cookies to enhance the site's usability, analyze our traffic, and for other purposes. For more information, please refer to the "Cookies Policy". Please click the "Agree" button, to provide consent to the use of cookies. If you do not agree, you can block cookies by adjusting your cookies settings.